Tennis and Golfer's Elbow: Helpful Tips and Tricks
Introduction:
Tennis Elbow, which is called lateral epicondylitis, is pain on the outside of the elbow, usually worse with lifting things like a coffee cup, a pot/pan, or weights in the gym. And no, you do not need to play tennis to have tennis elbow!
Golfer’s Elbow, which is medial epicondylitis, is pain on the inside of the elbow, and is usually aggravated by gripping activities or making a fist.
In most cases these injuries are caused by overuse or repetitive wrist or hand movements. It is common when the forearm or shoulder muscles are weak, or if there is a direct injury to the elbow. The tendon that connects the forearm muscles to the elbow is what gets inflamed and causes the symptoms.
Both of these injuries are common things I see in the clinic and can be hard to get rid of. In this blog I will go over some easy stretches and exercises you can do to start managing this on your own.
Stretches:
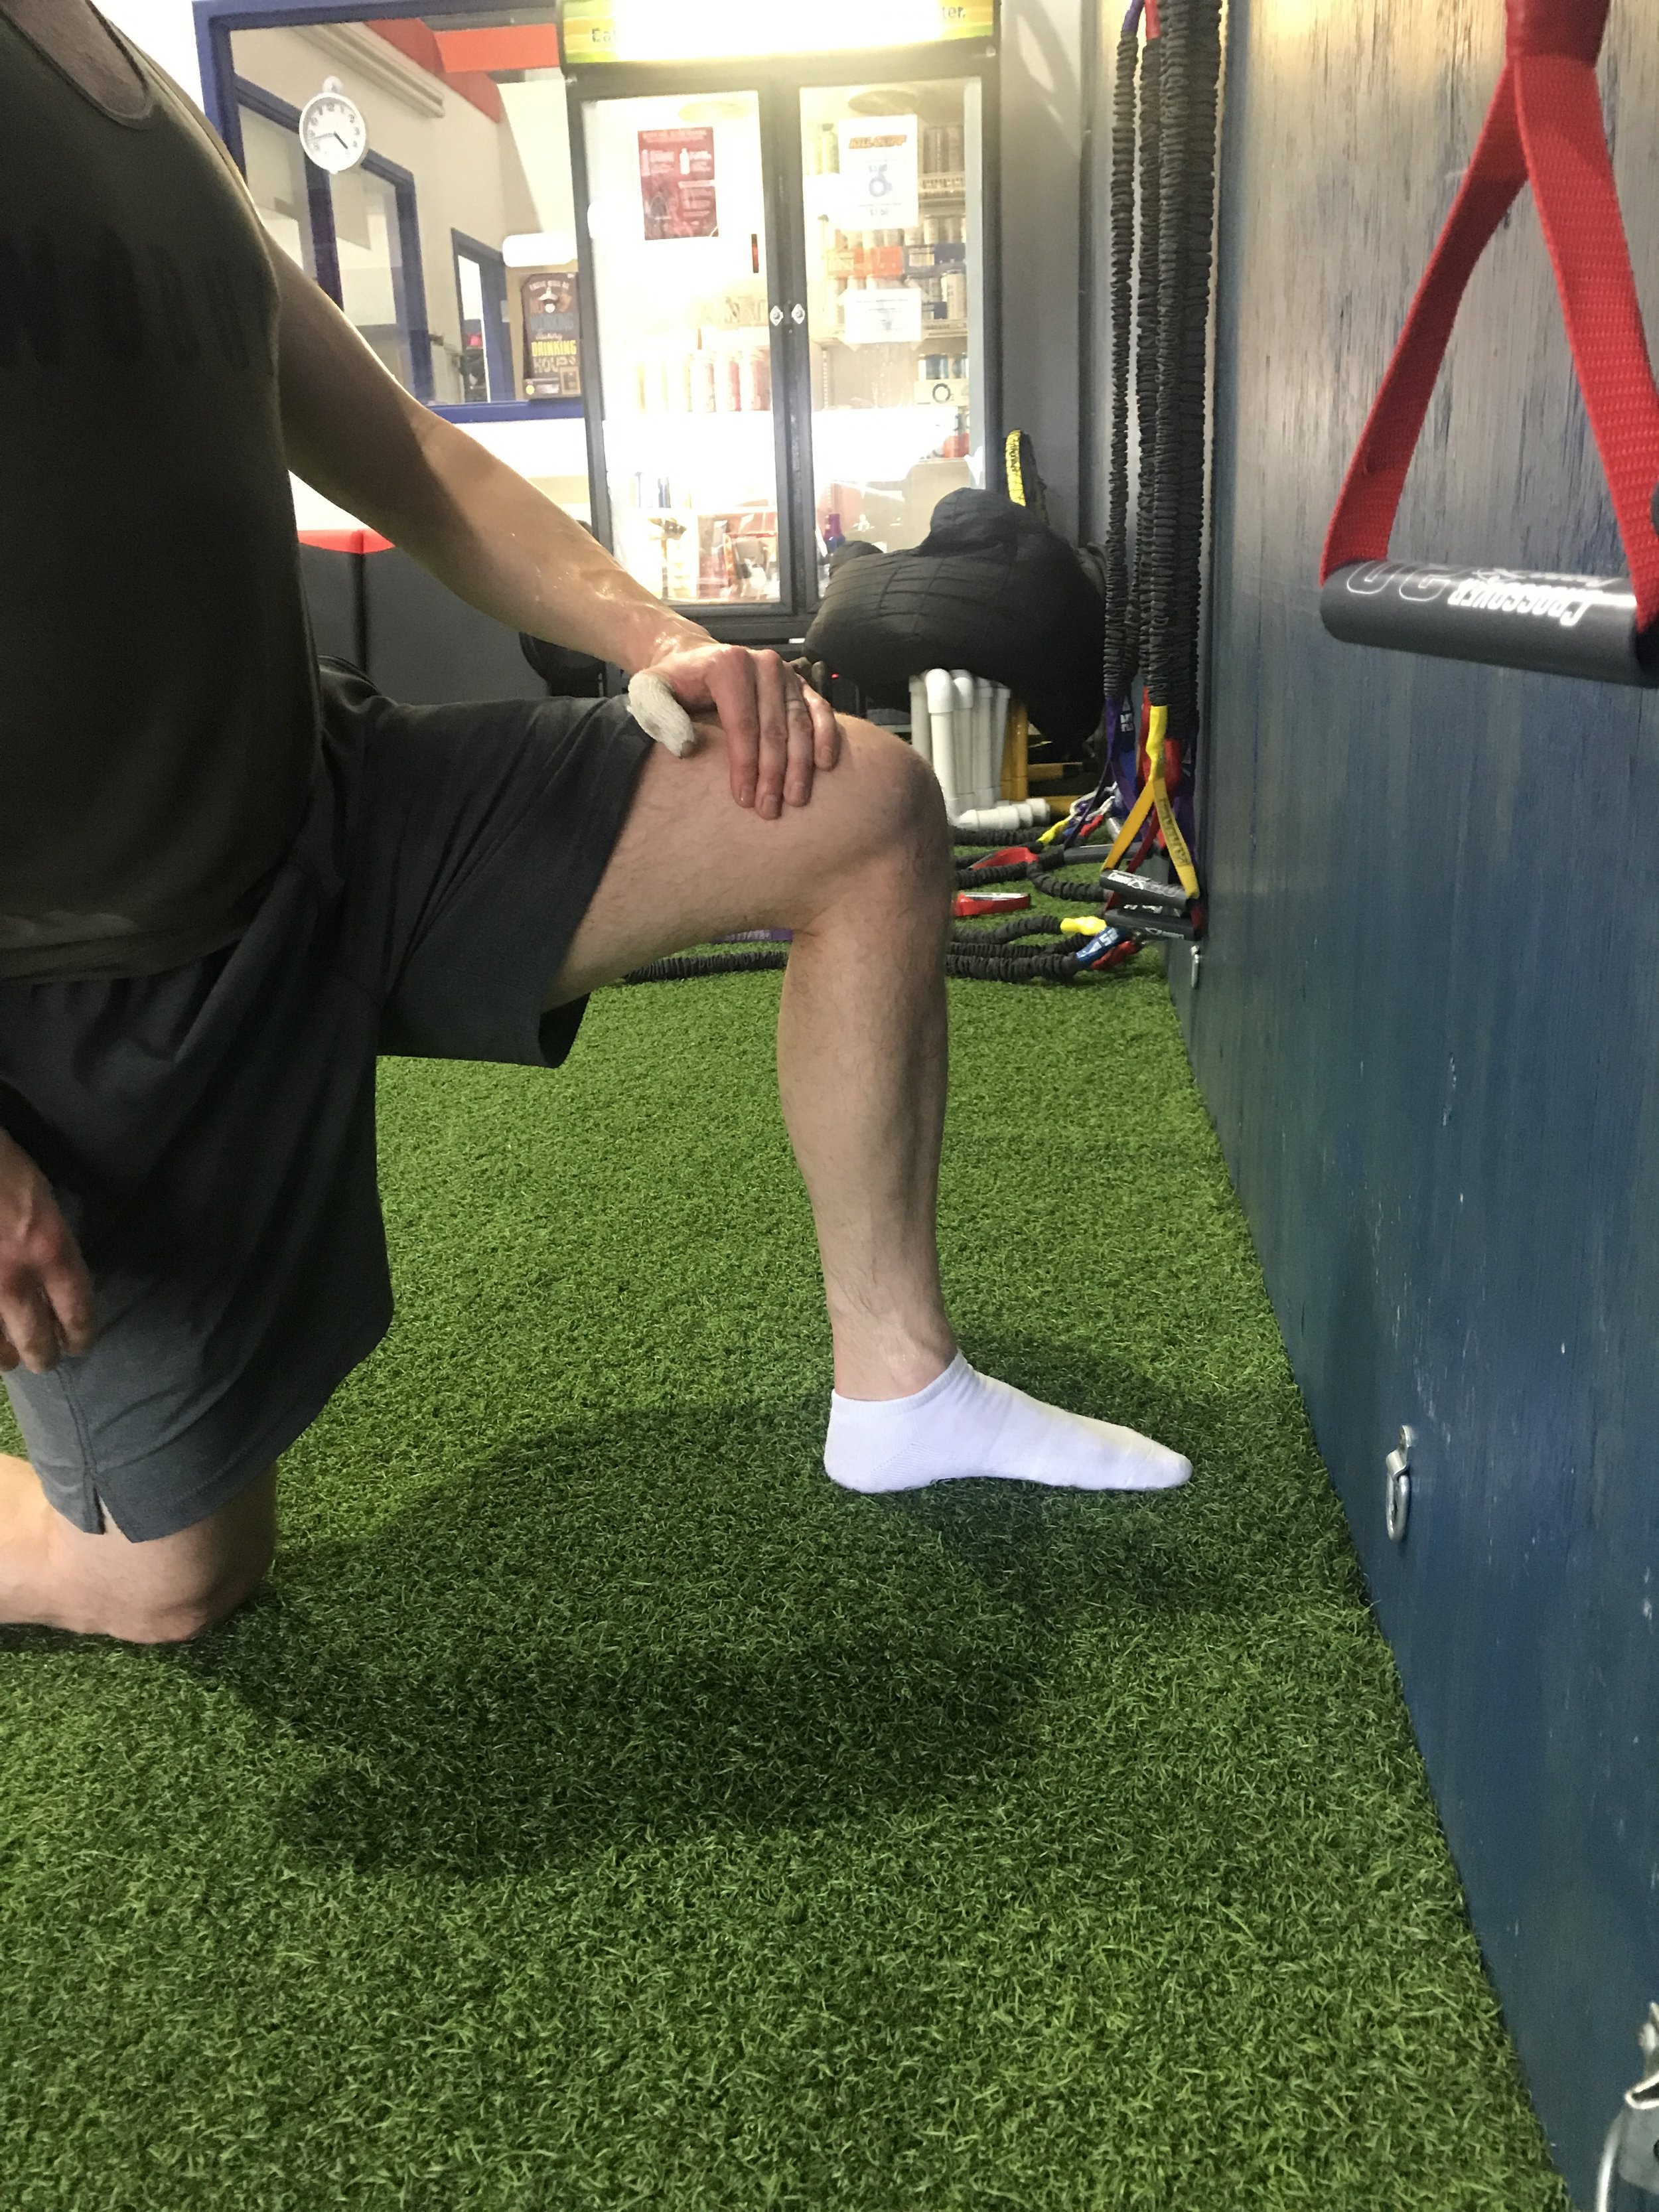
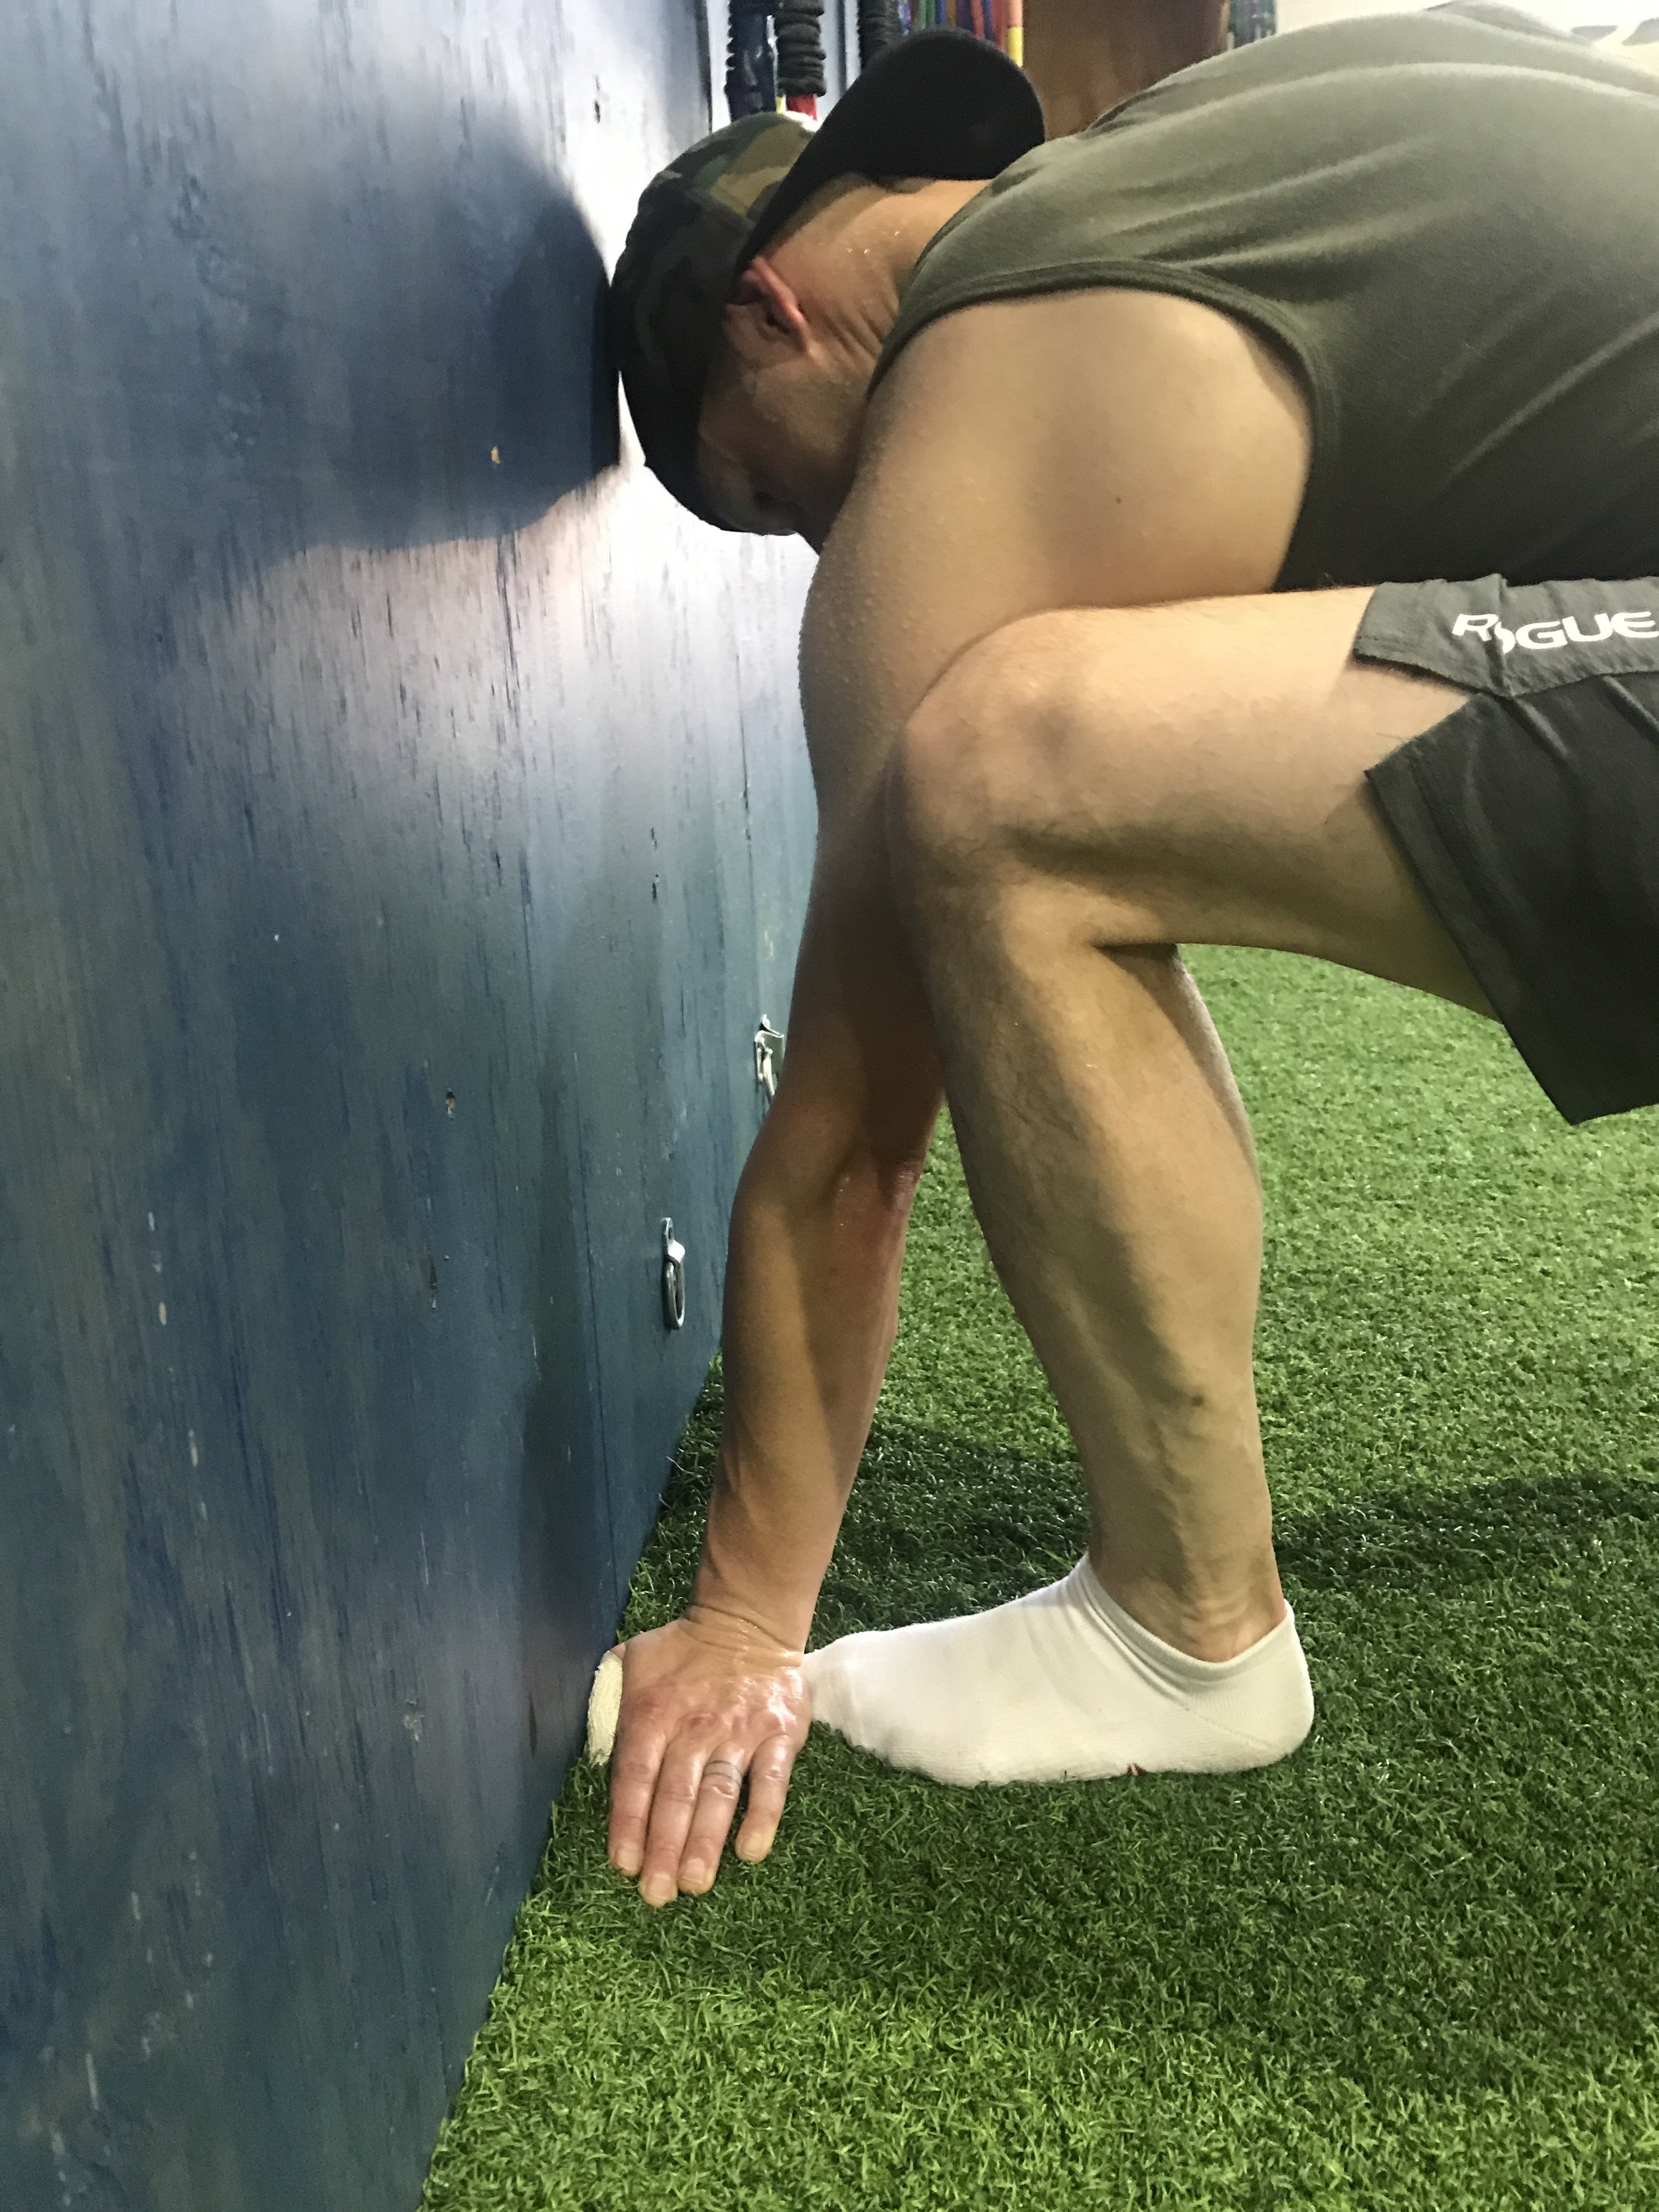
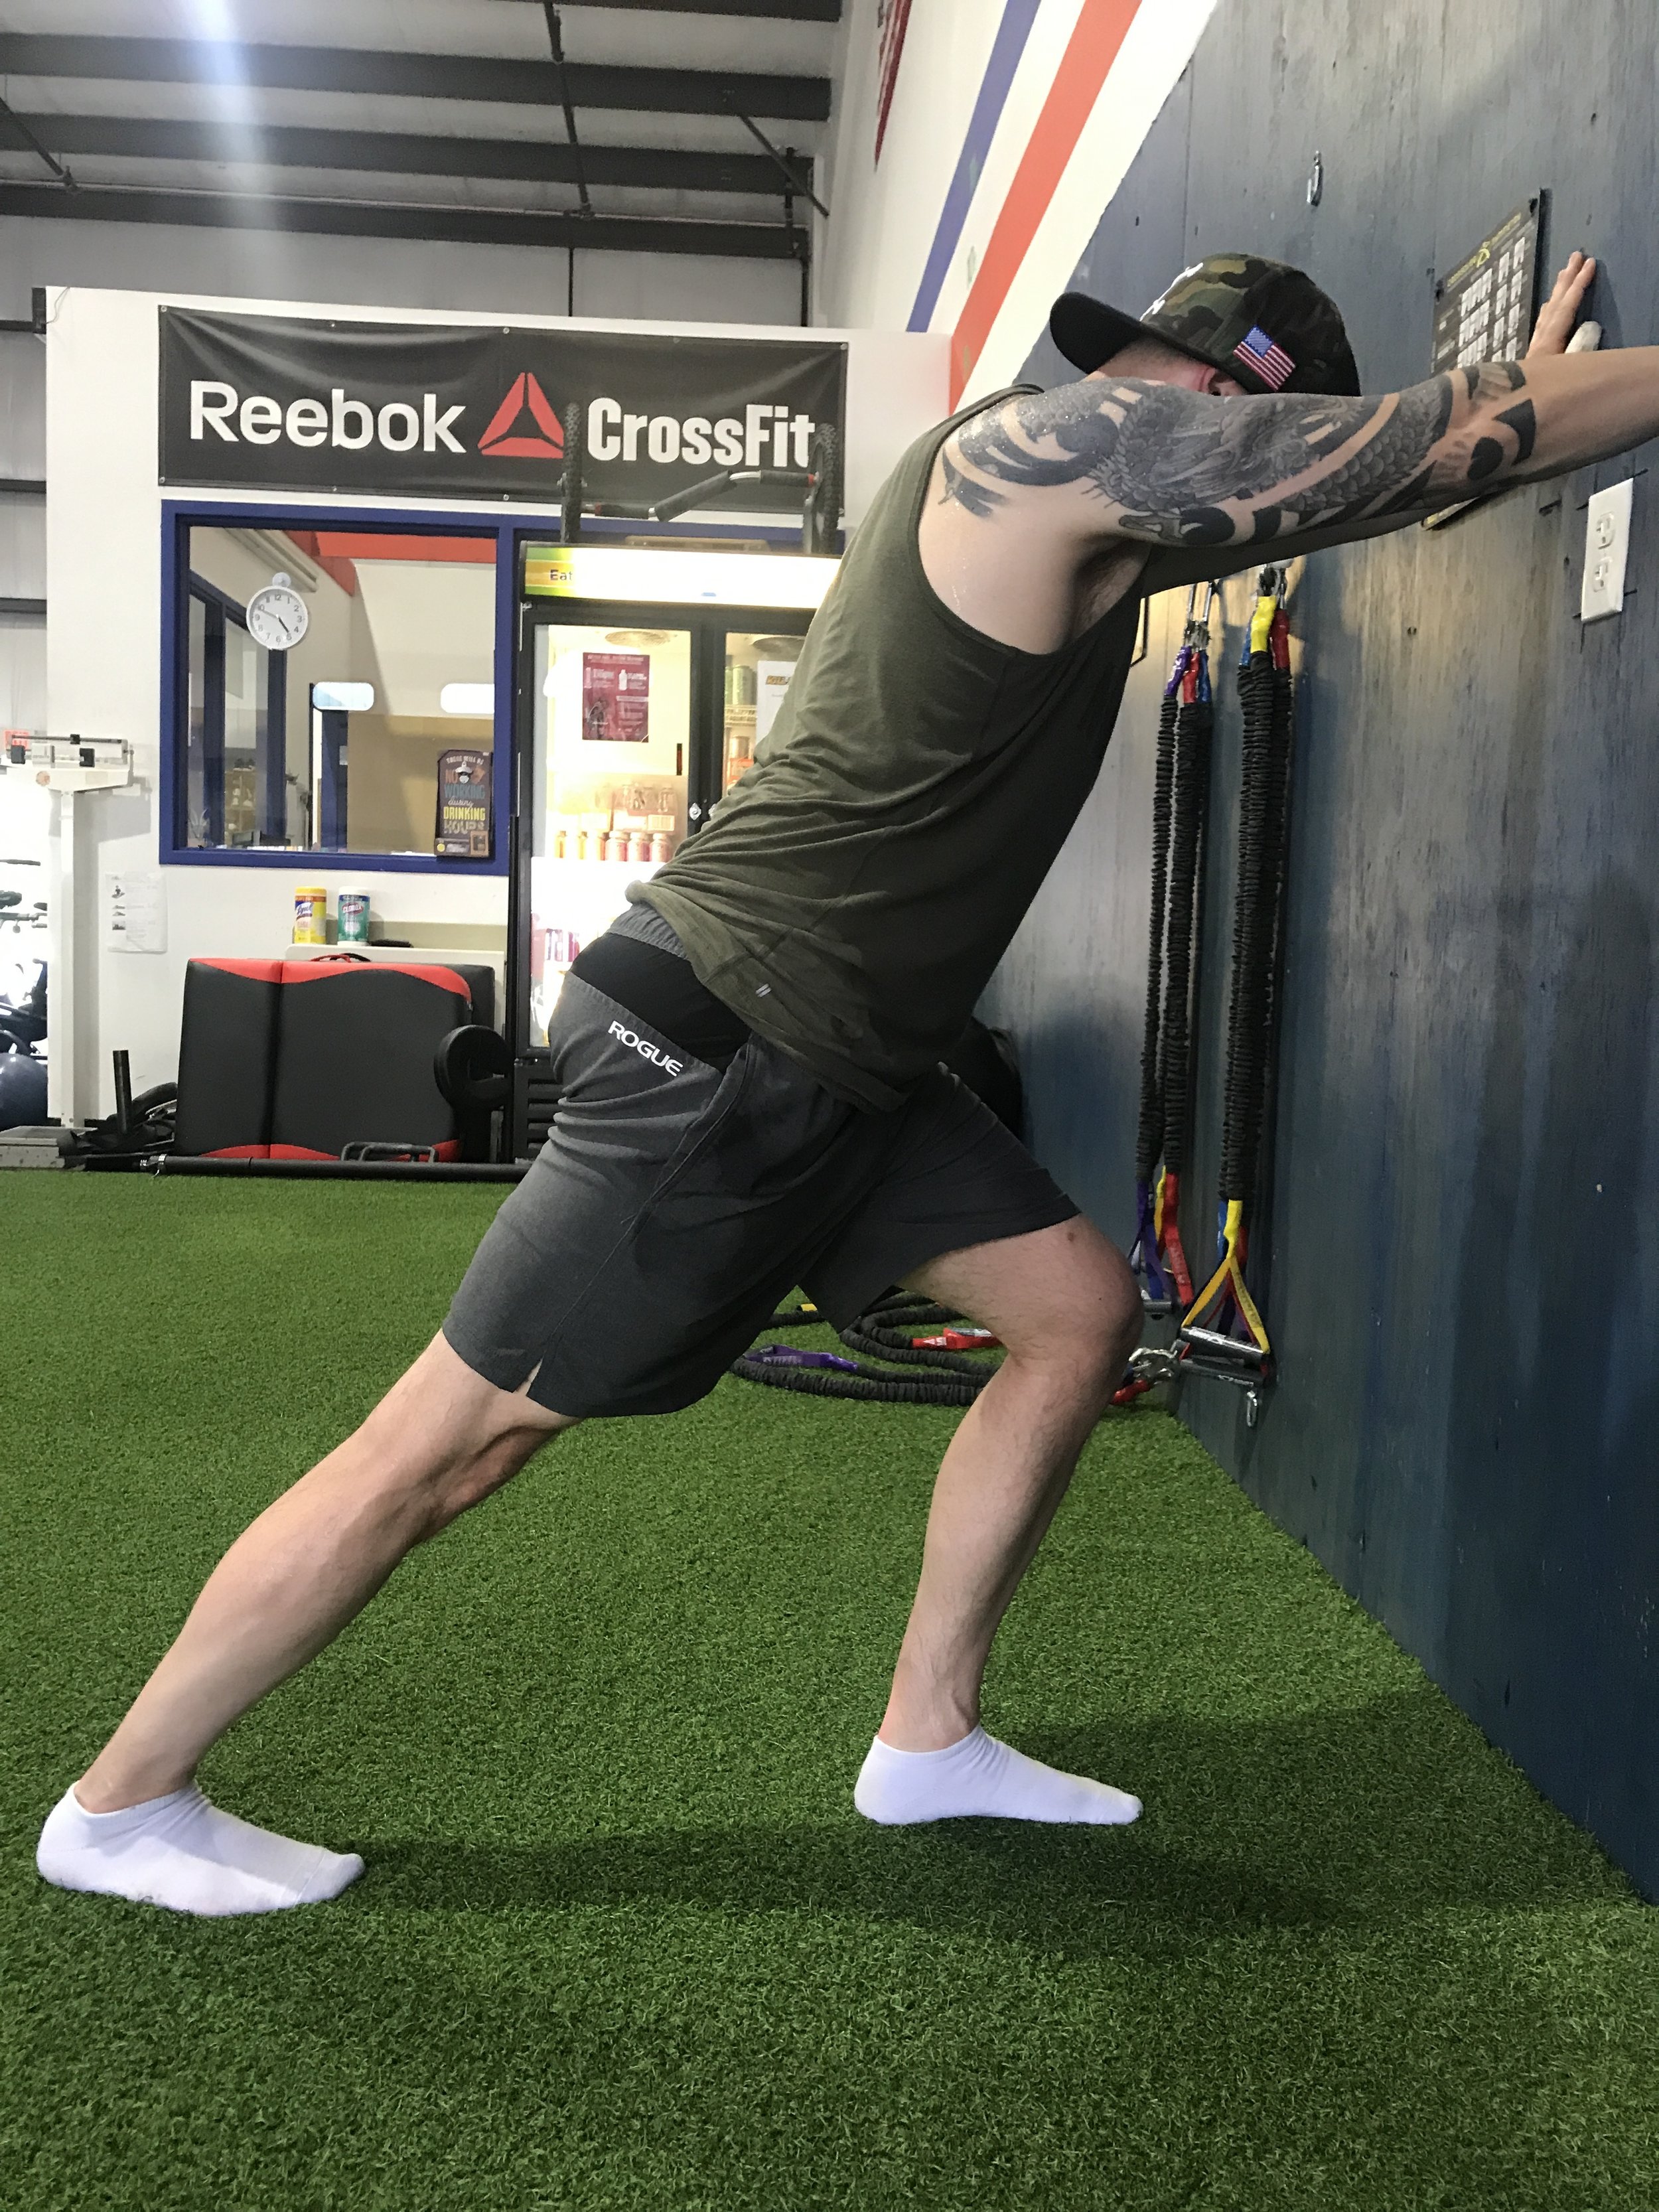
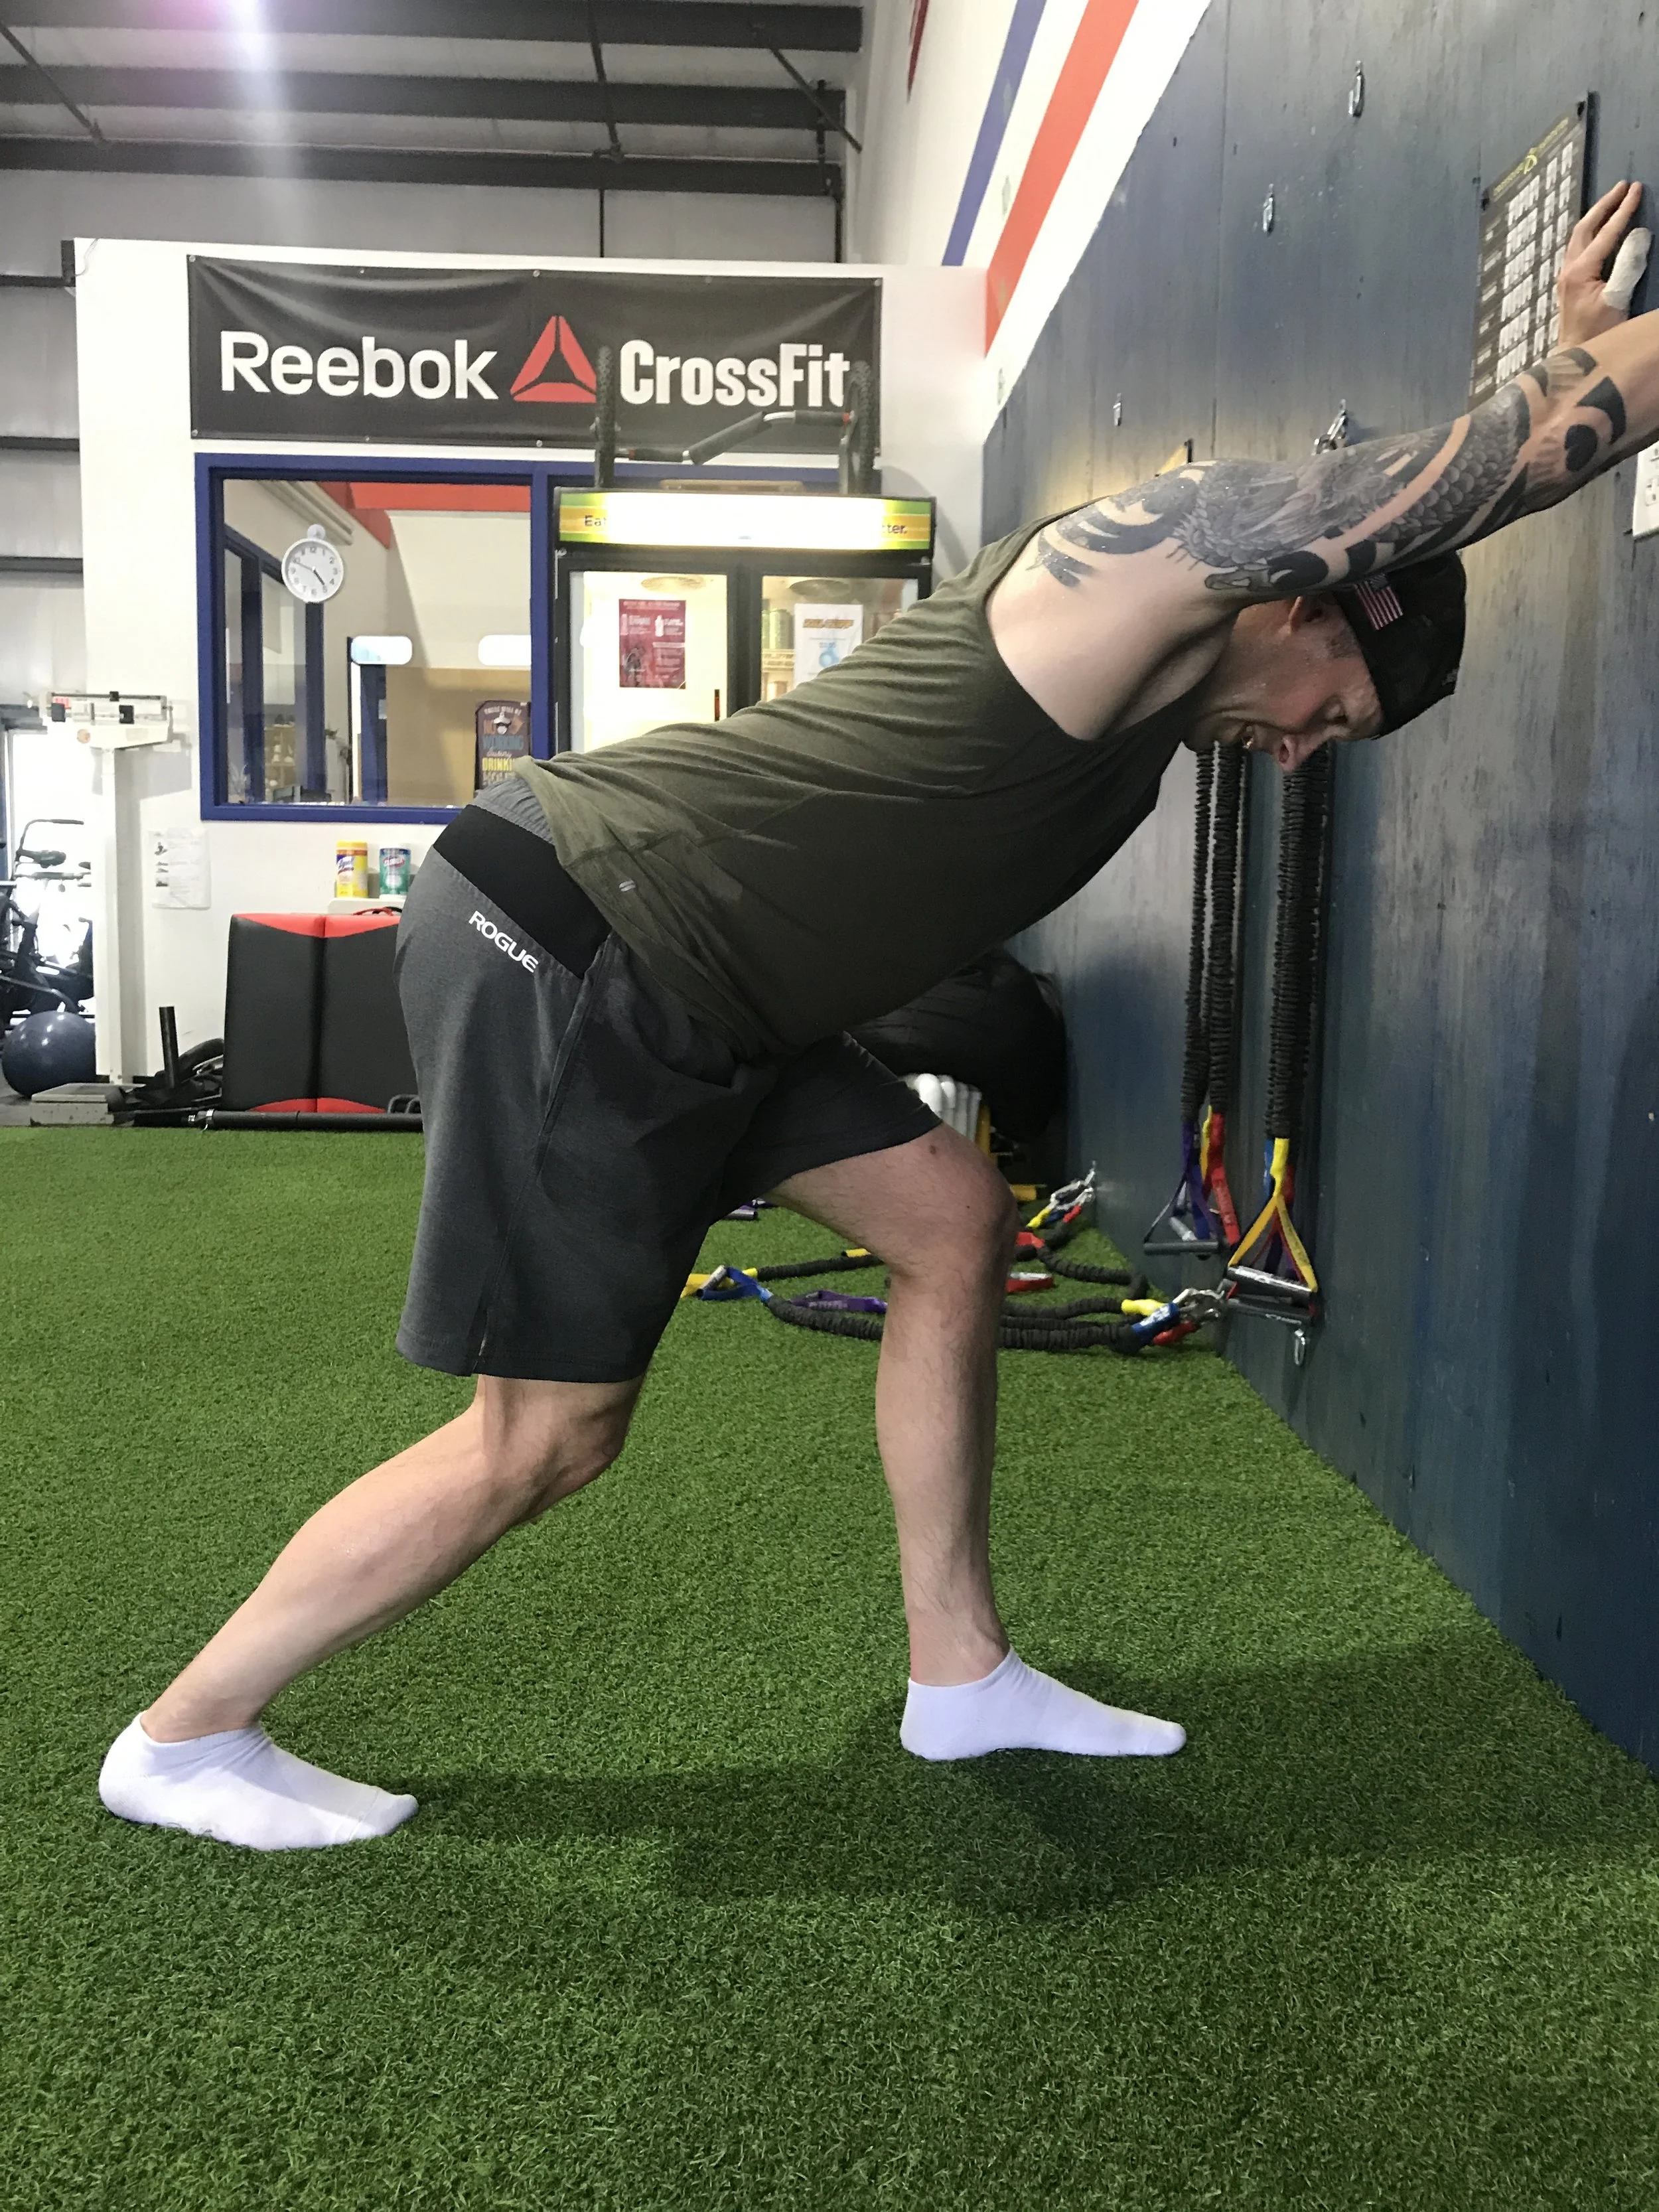
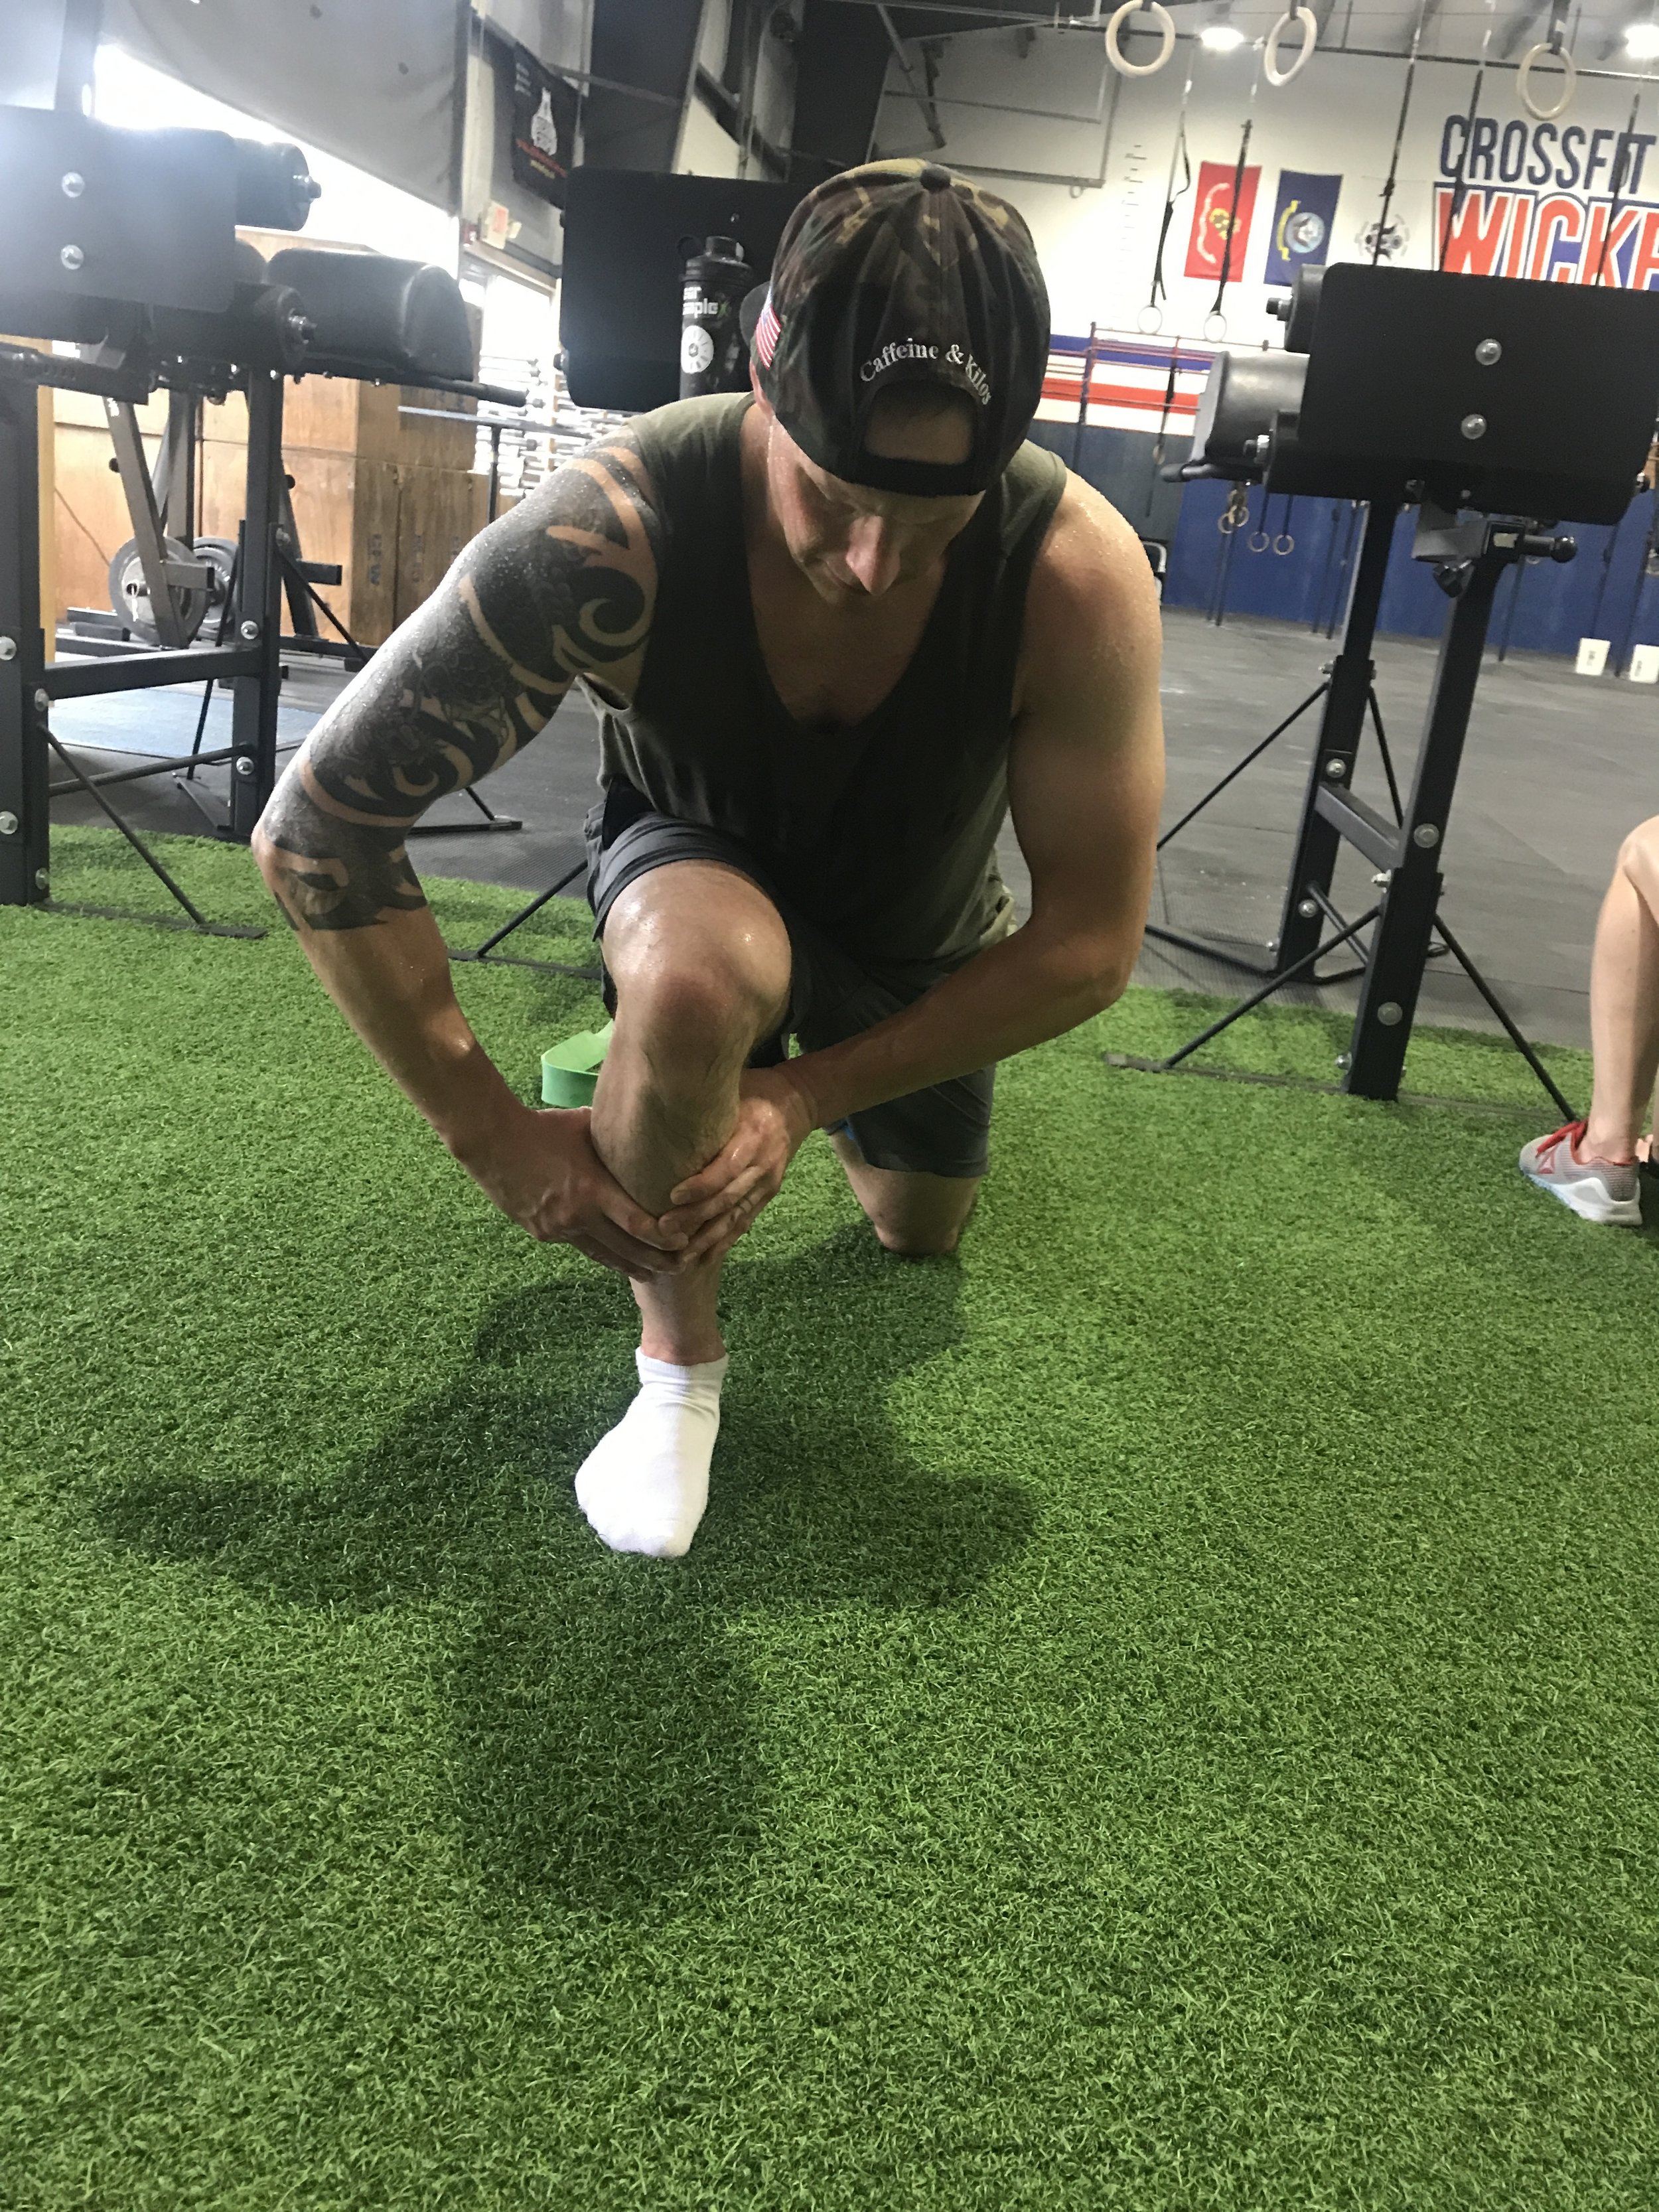
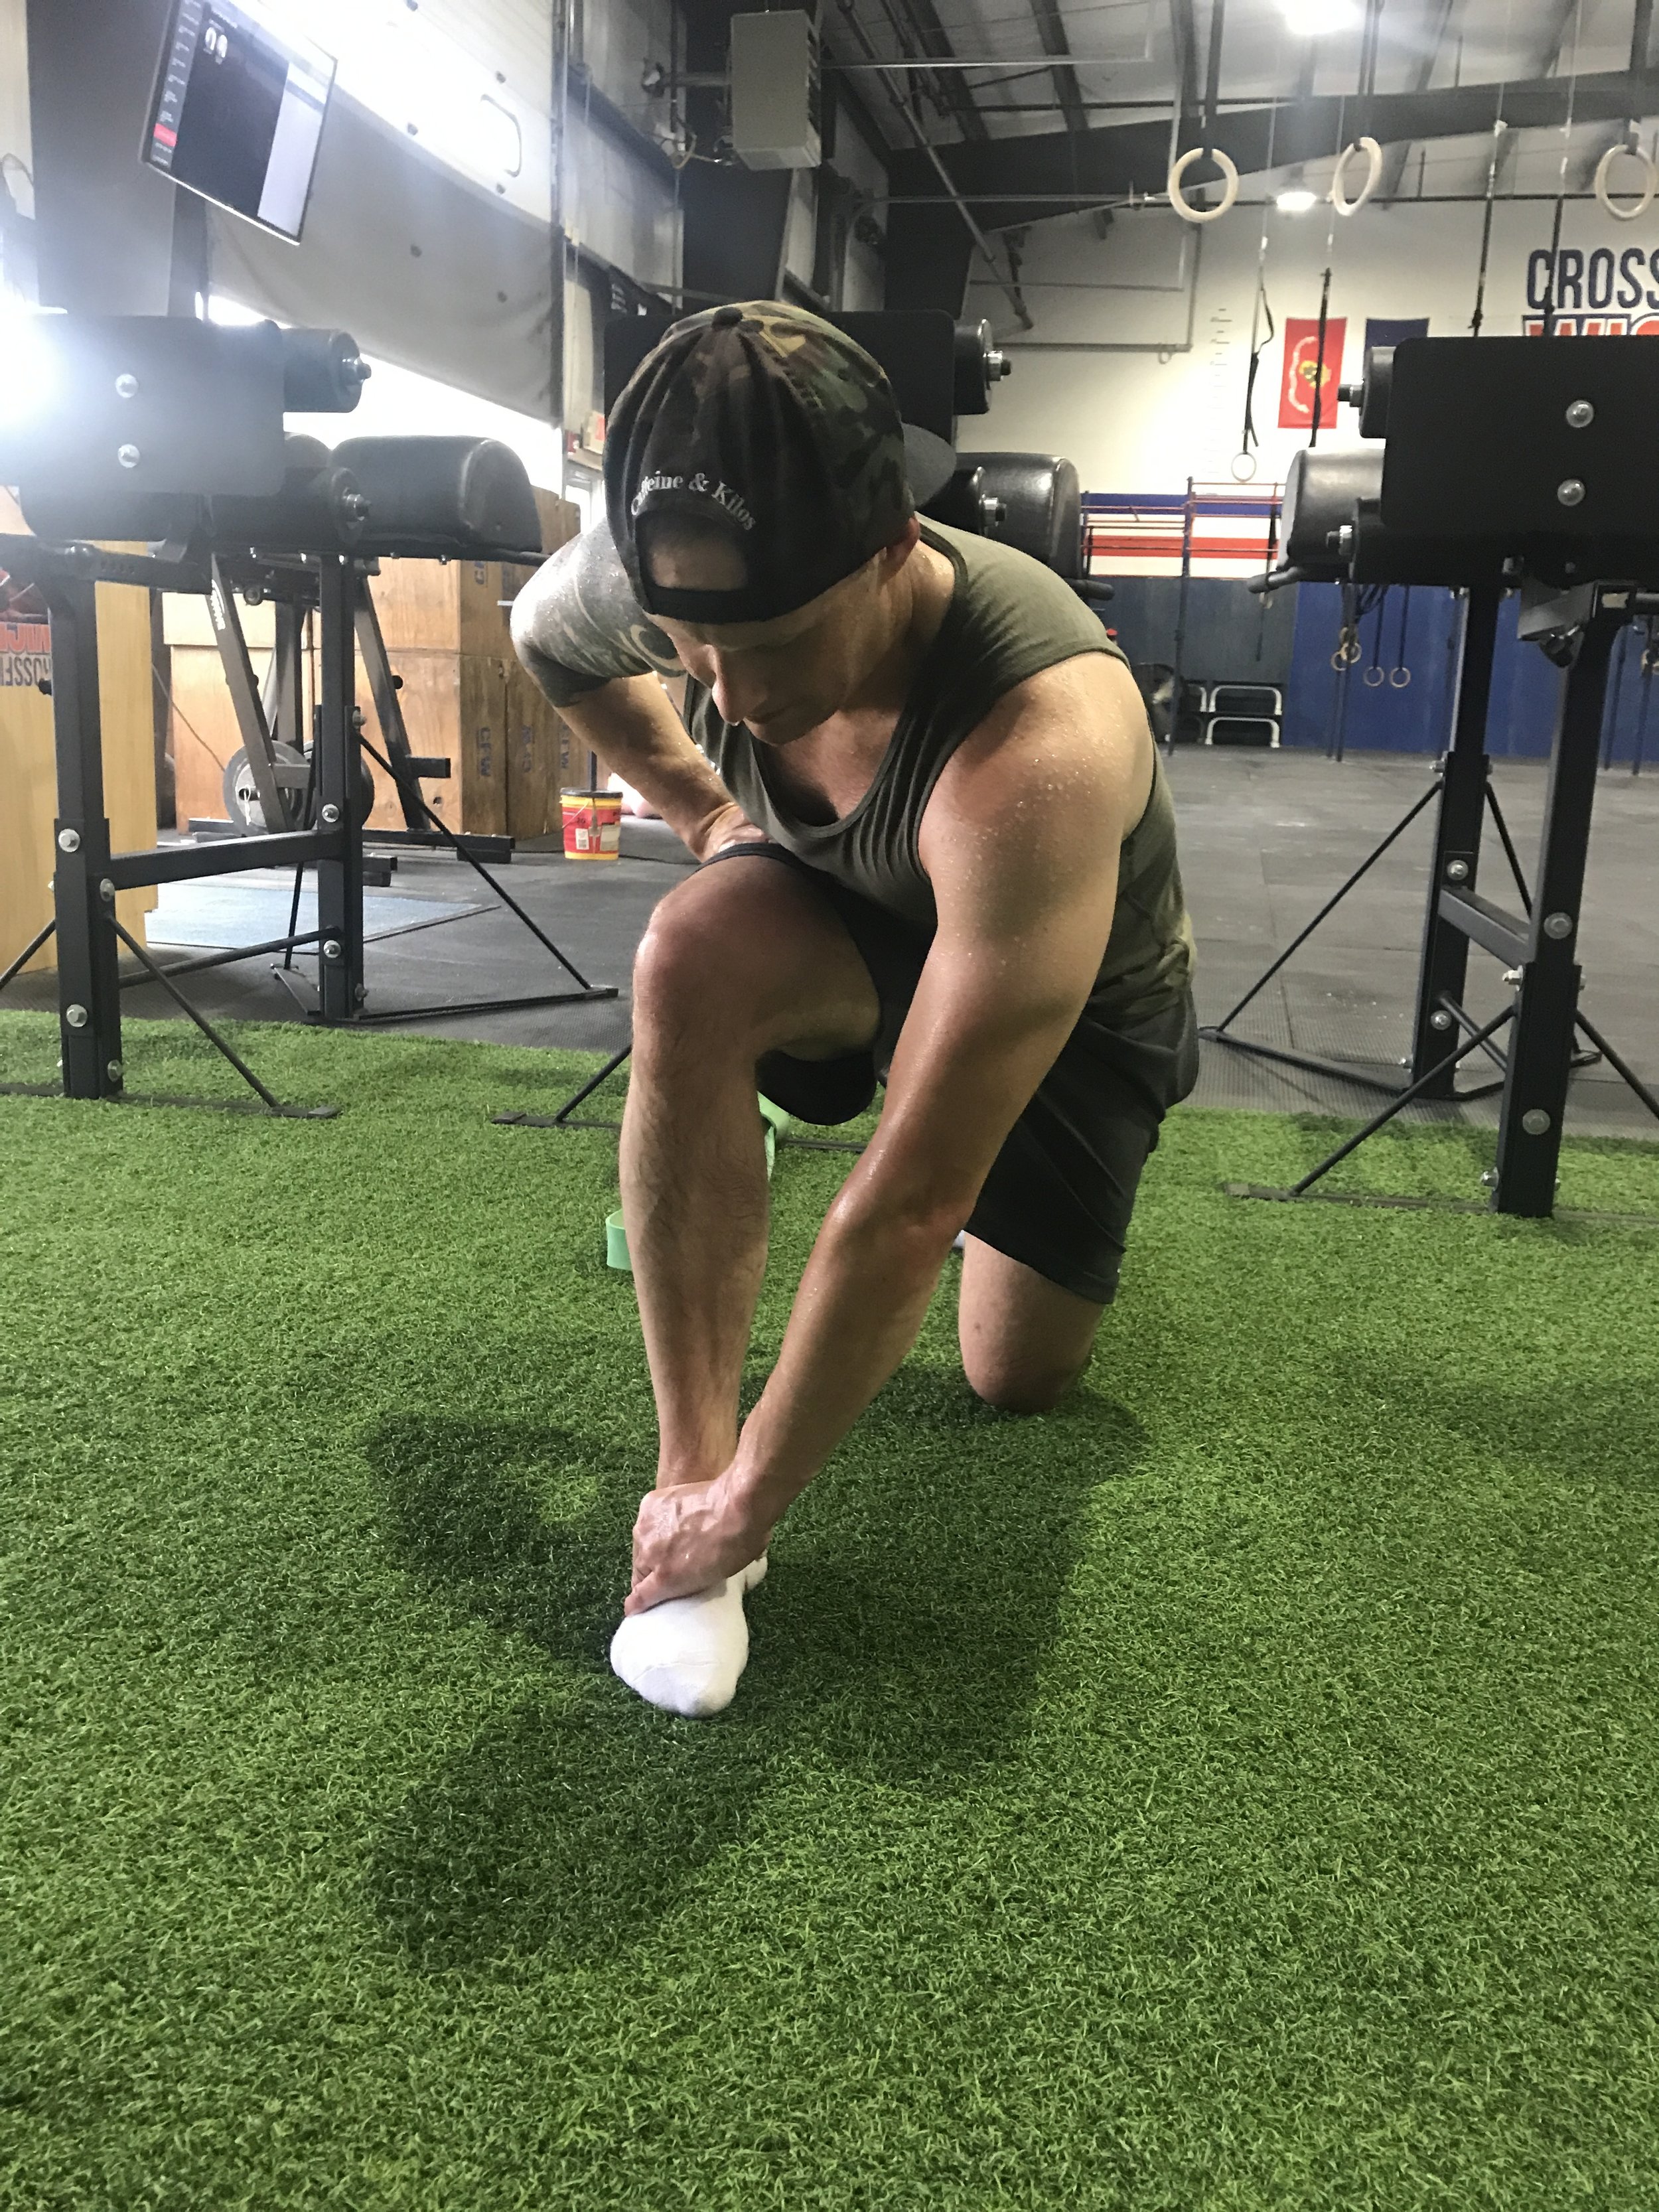
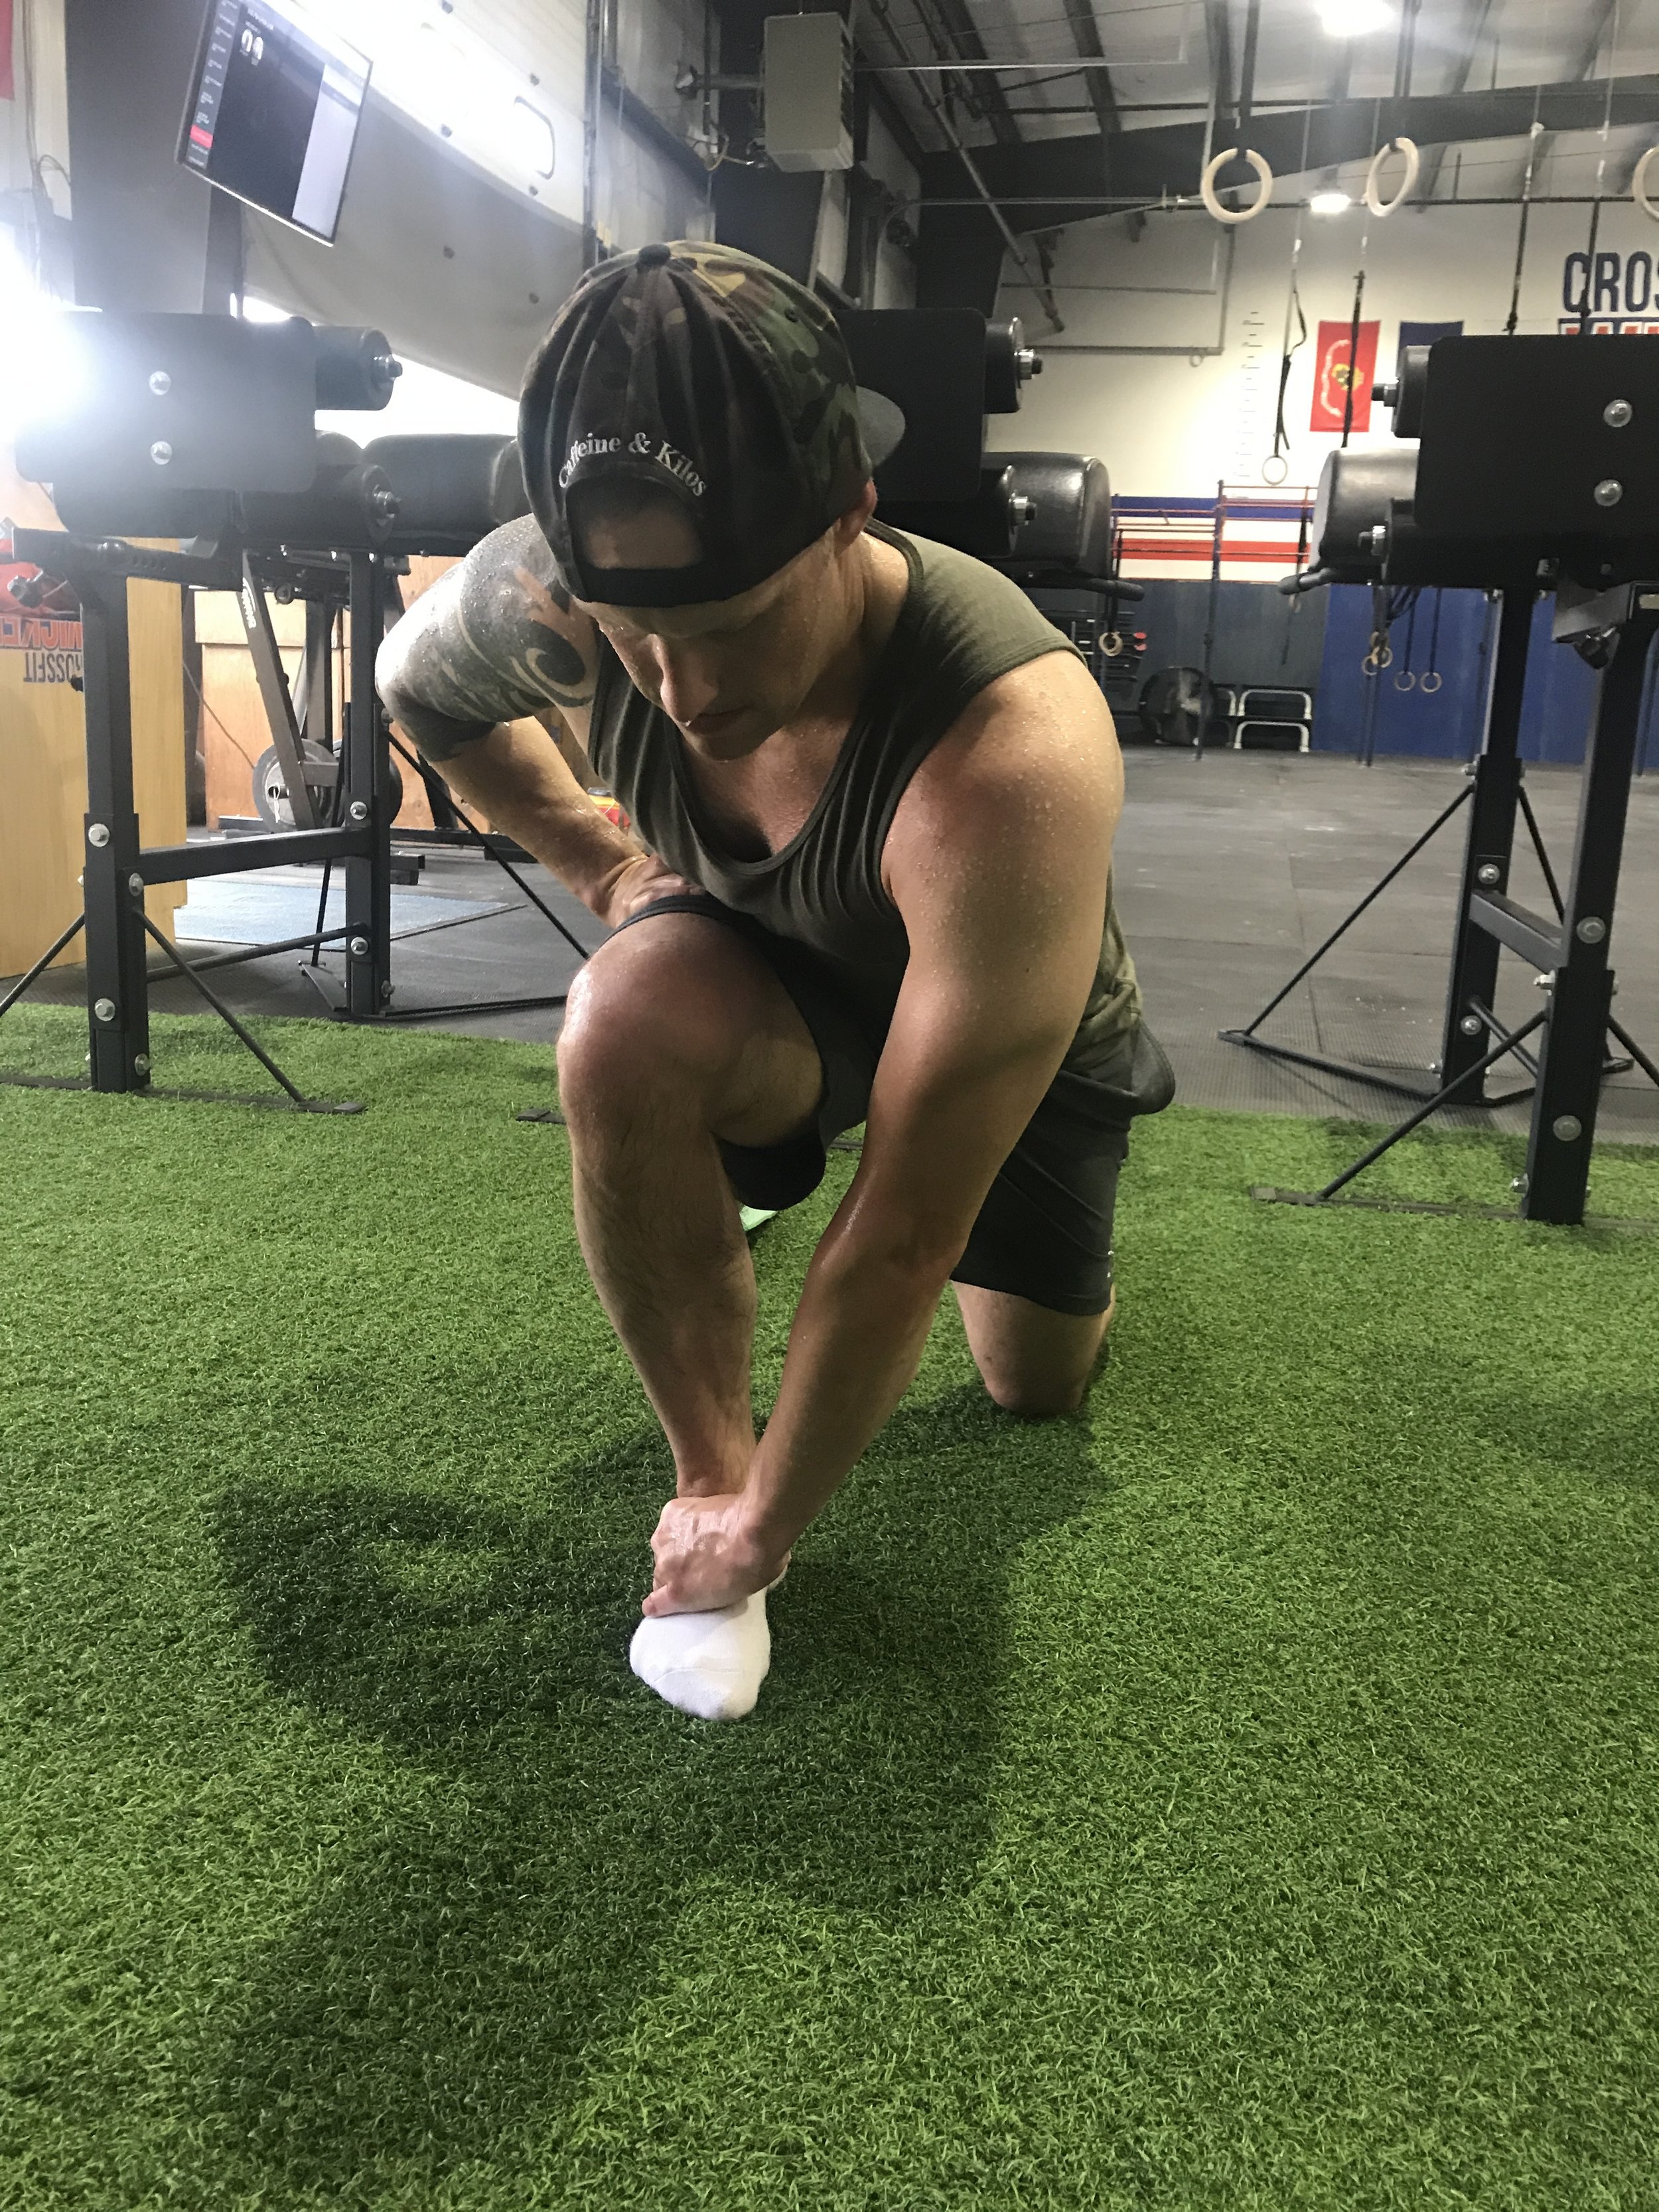
You can stretch your forearm muscles ( flexors and extensors) by holding each of these stretches for 30 seconds and repeat 3 times each. You can do version 1, my personal favorite, done on the floor for a bigger stretch, or version 2 (arm out in front of you) while sitting at your desk throughout the work day.


Strengthening:
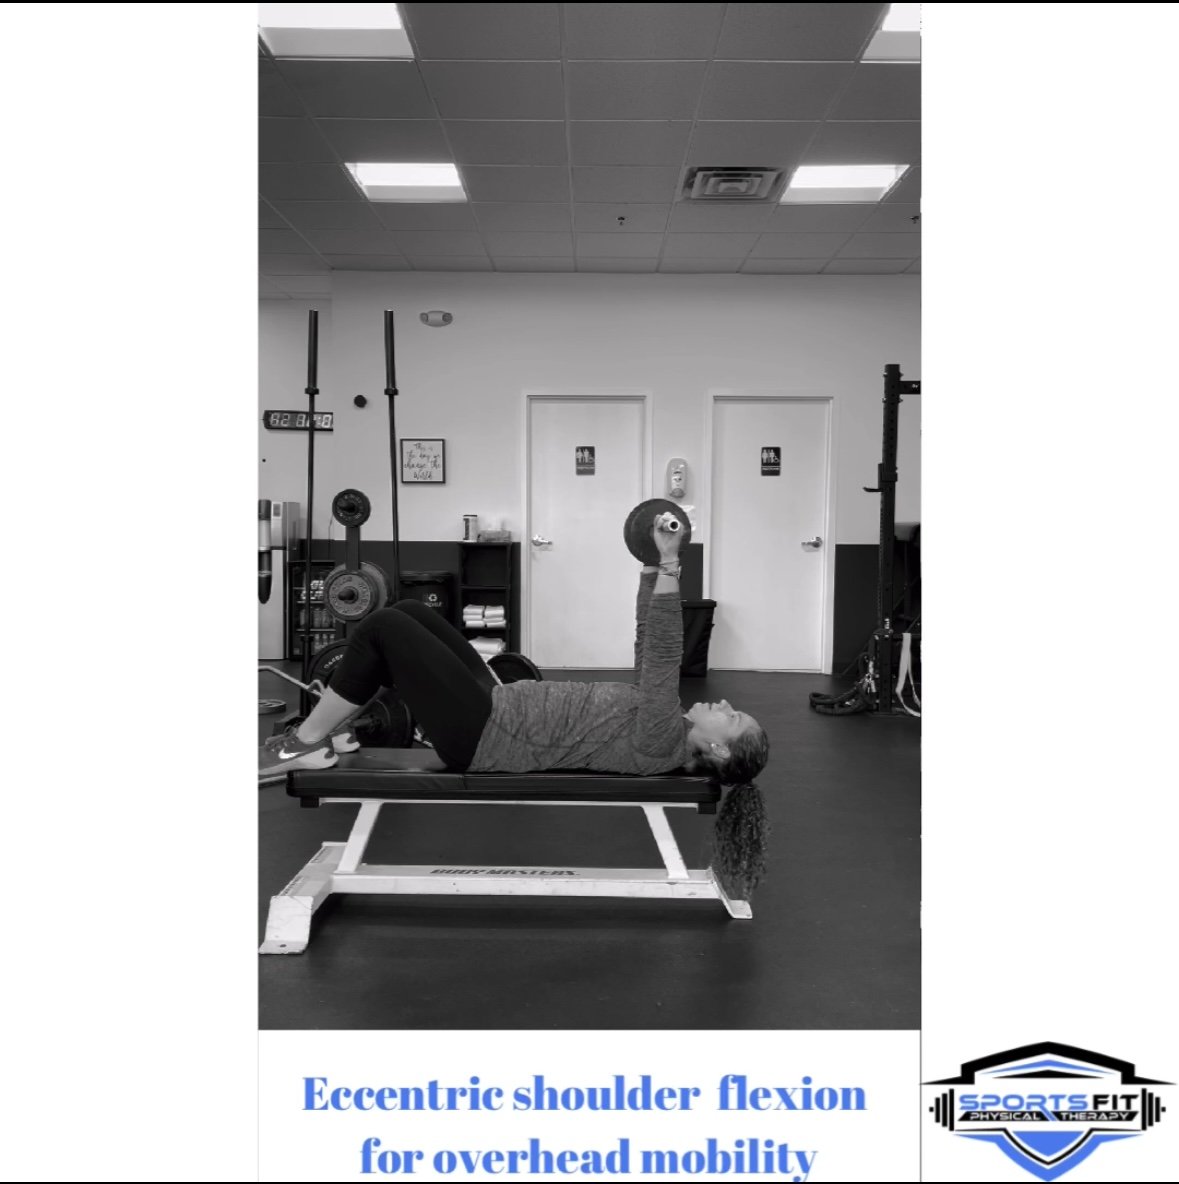
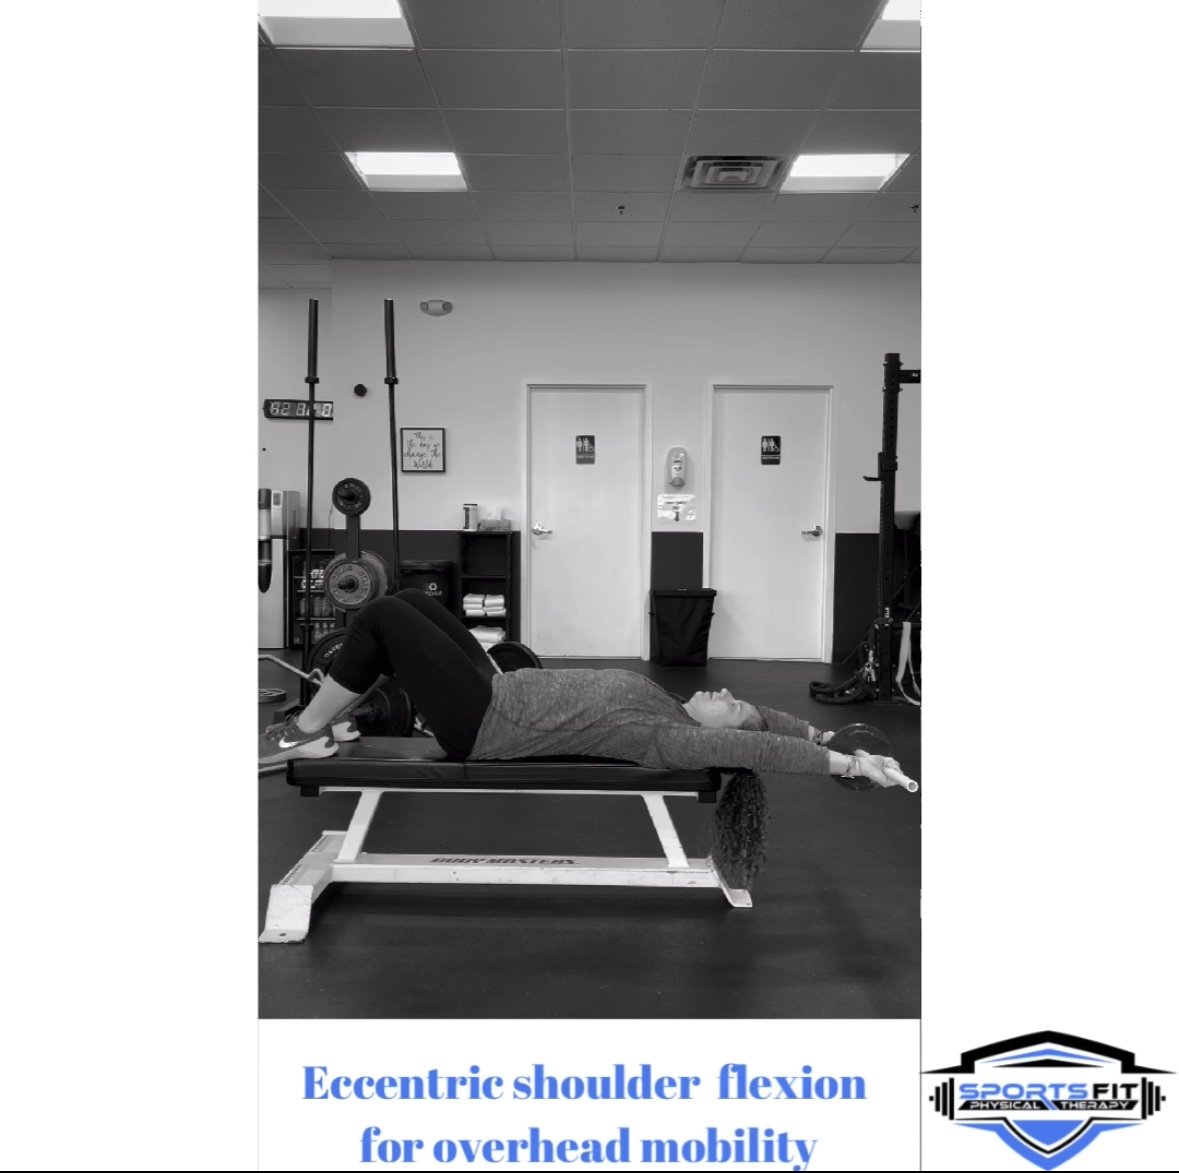
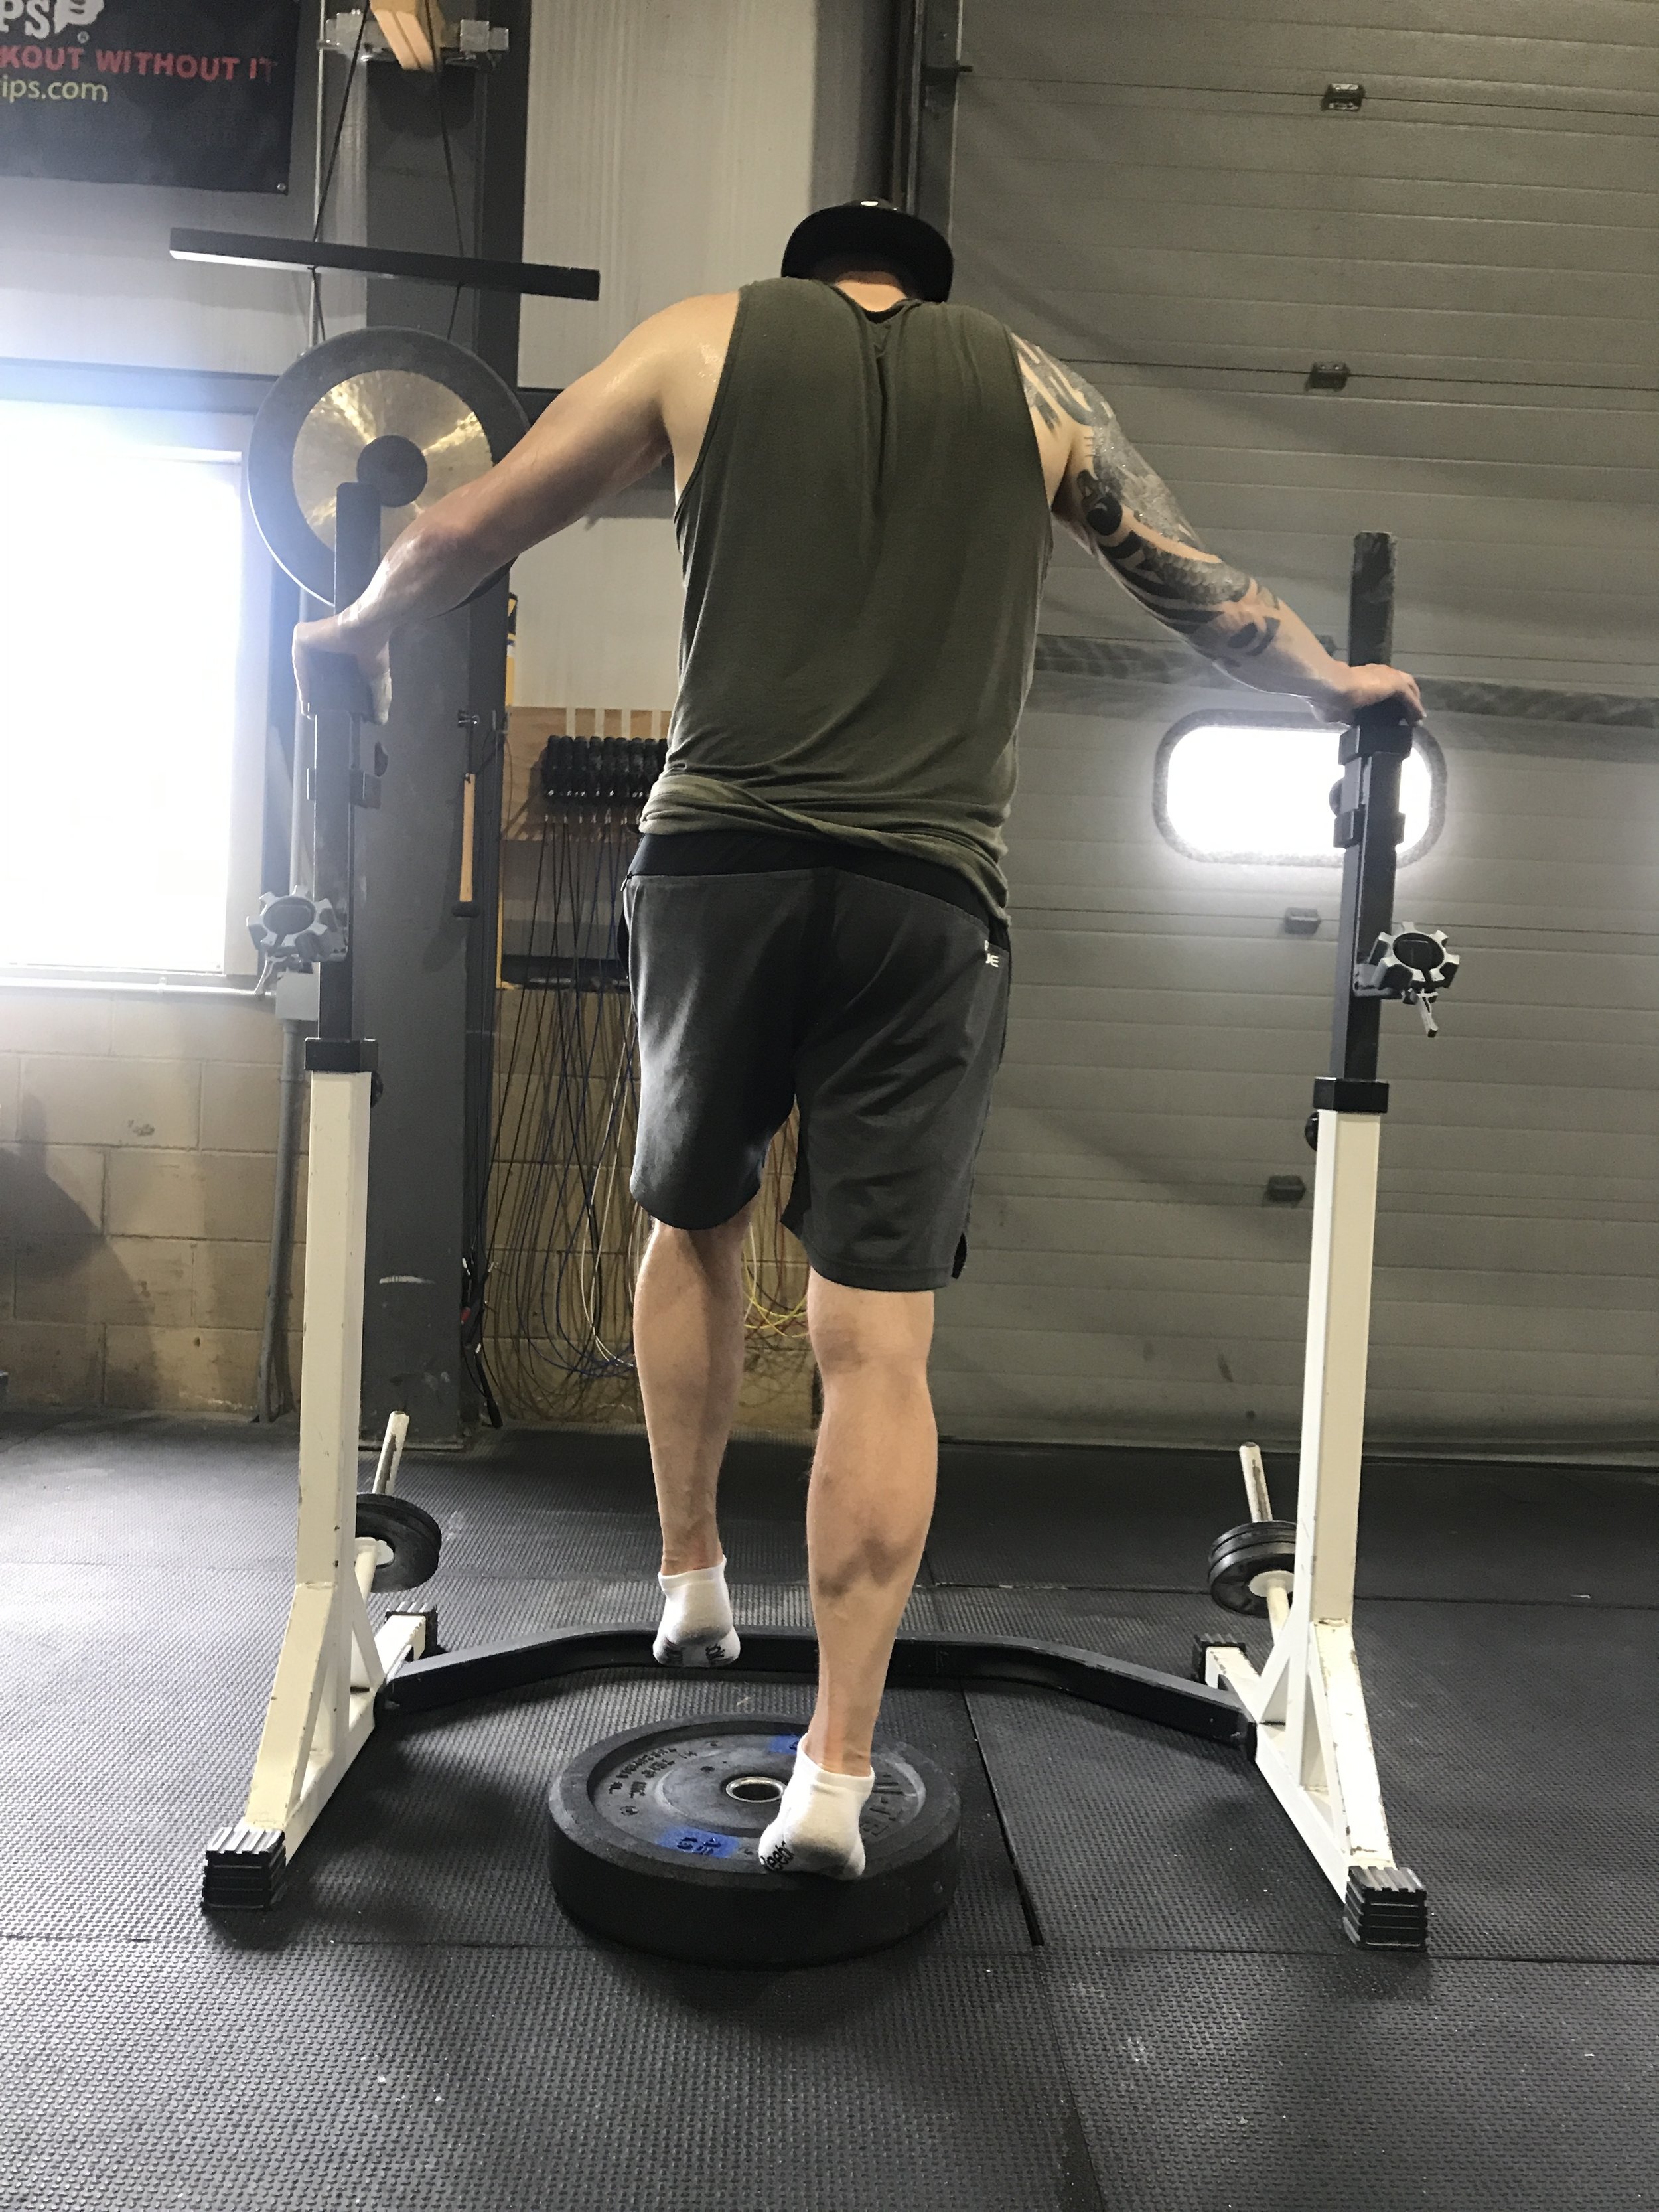
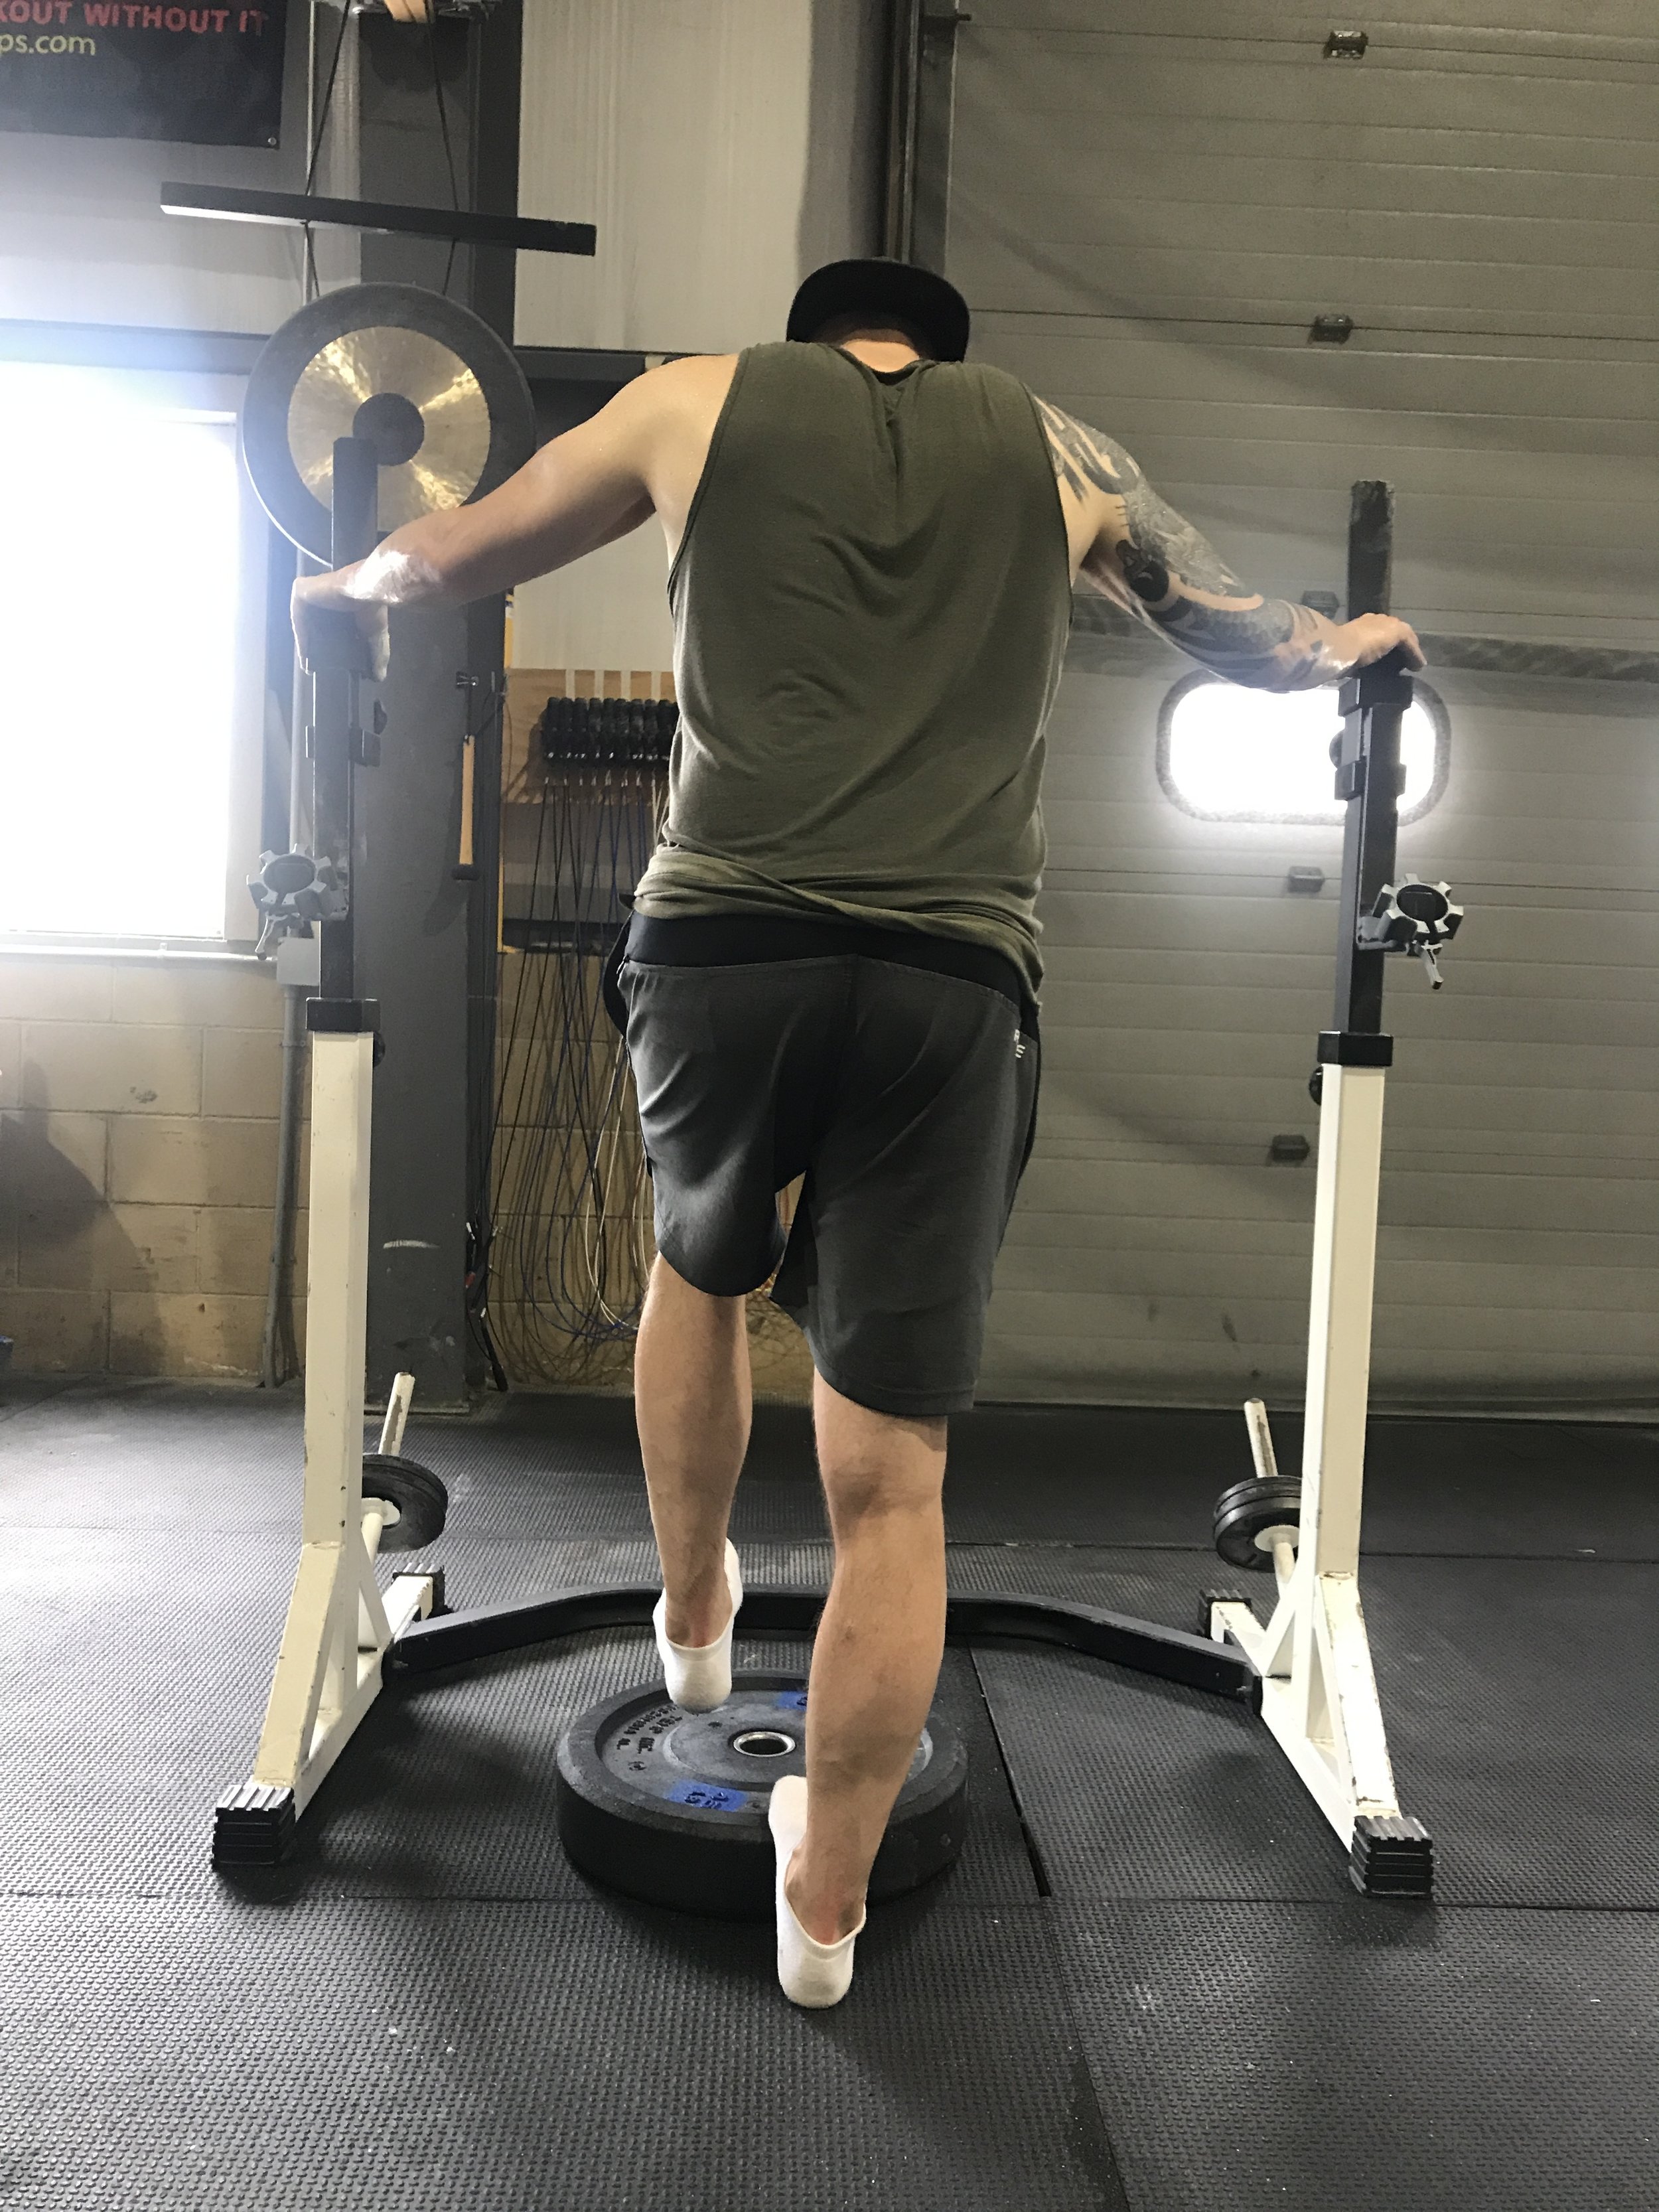
Using the uninjured arm lift the weight up until wrist is flexed/extended, let go, then slowly lower the weight down with the injured side. Start with 3 sets of 10 of this exercise, and then as it gets easier increase the reps to 3 sets of 15. Perform once a day. Image 1 is for golfer’s elbow and image 2 is for tennis elbow.


Bracing:
A tennis elbow or golfer’s elbow strap can help quite a bit while the tendon is healing. The strap is to by worn tightly across the forearm, just below the elbow. This takes tension off the injured tendon by applying force to the muscles below it instead. I don’t recommend you wear it all day, just during activities that you know will aggravate the elbow pain symptoms.

Rest and Modification:
In order to allow the tendon to heal, it is best to avoid the activities that really flare up your symptoms so the tendon can heal.
Other Ideas:
Many times tennis elbow and golfer’s elbow are due to a problem up above in the neck or shoulder. Make sure you have good posture and the shoulder and rotator cuff muscles are strong. Also, be sure you have good technique with your activities whether that be your desk/computer set up for work, lifting weights, or when swinging a racket or golf club.

Physical Therapy:
Physical Therapy can be a great way to help speed up your recovery and find out the exact reasons for why your injury started in the first place. A physical therapist can perform manual therapy, such as deep tissue massage or dry needling to the area, as well as show you more stretches and exercises individualized to you. Another great modality is SoftWave, or Shockwave, which speeds up healing of the injured tendon, increases blood flow, and reduces inflammation significantly faster than it would on its own.